Objectives
Enabling DHCP service on a specific interface where connected devices will have their respective IPs automatically assigned with the next available IP within the specified range.
Prerequisites
- Netgate SG-3100 Switch
- 2 Ethernet Cables (WAN & LAN)
Steps
Task 1: Access PFSense from switch
Step 1: Make sure your device is connected to the switch via LAN port with an Ethernet cable.
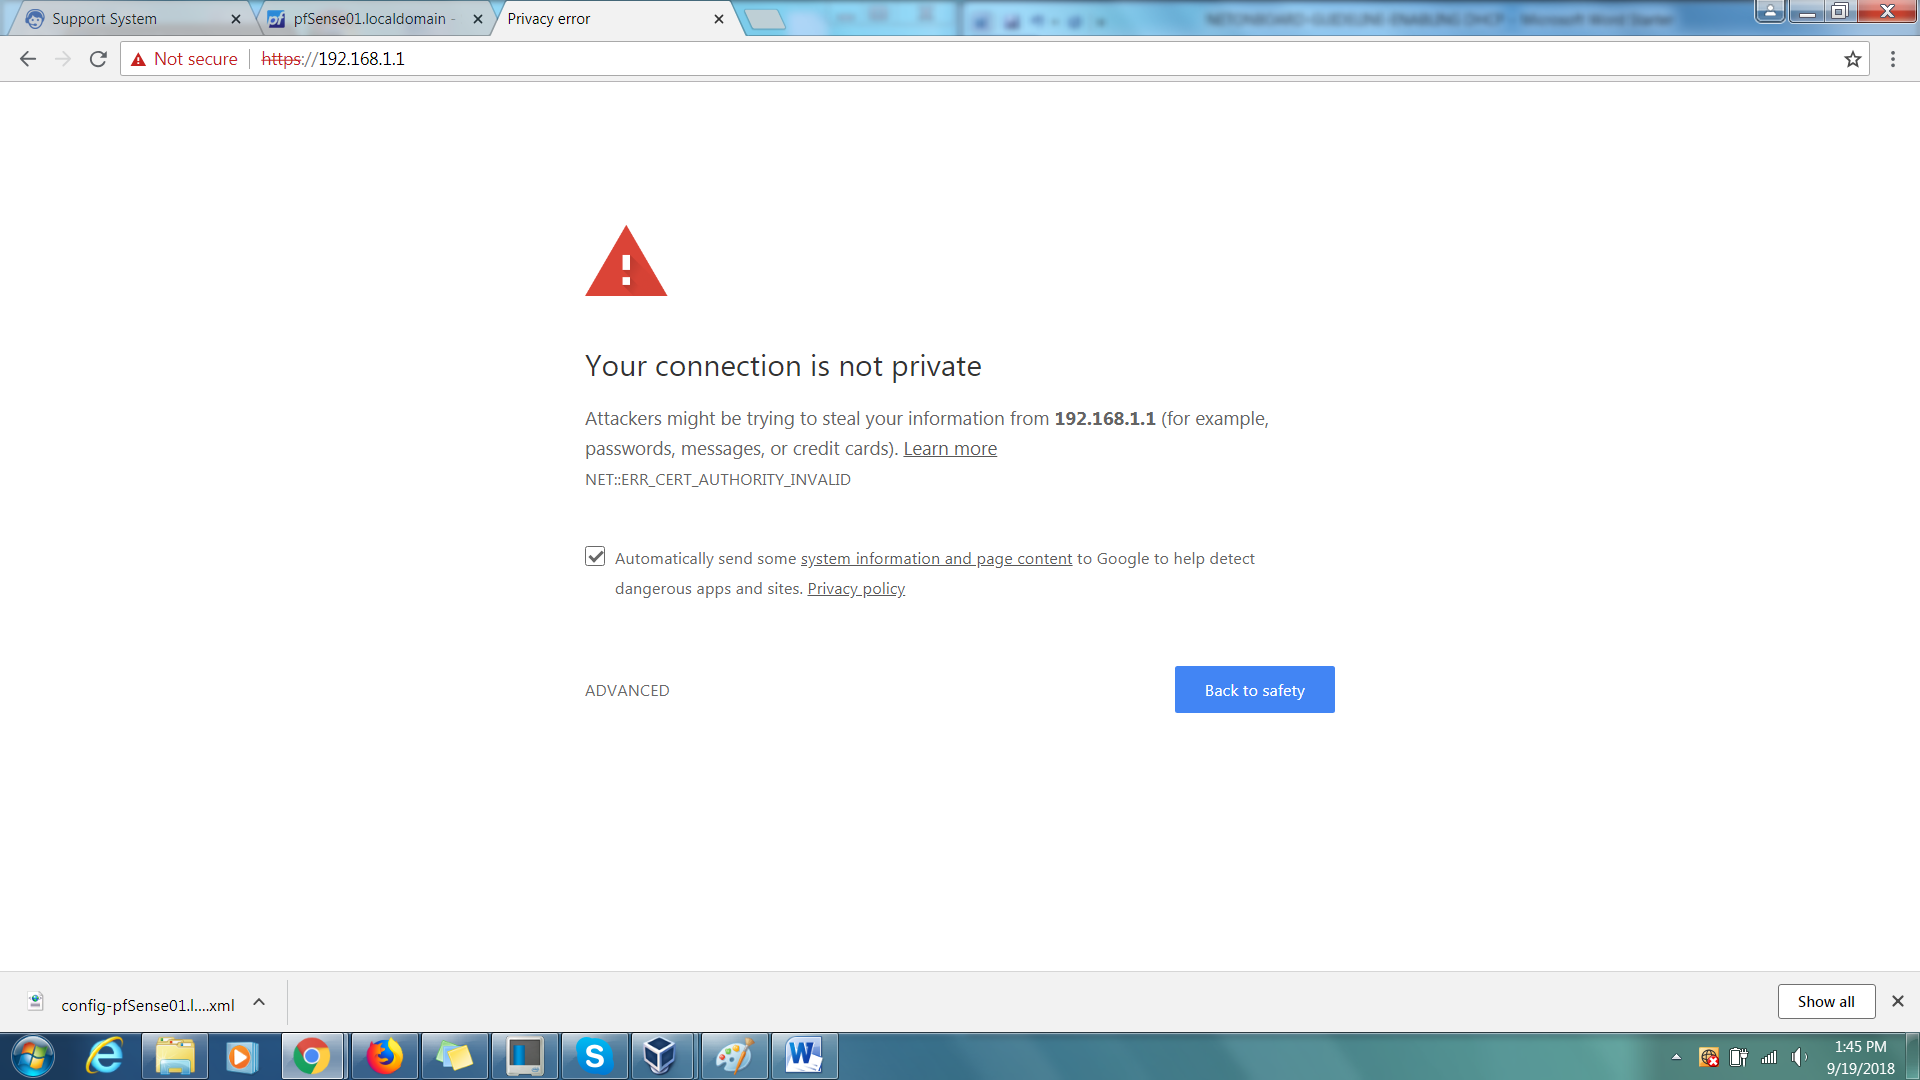
Step 2: Access the GUI via default LAN IP (https://192.168.1.1).
Task 2: Changing the LAN IP
Step 1: Go to Interfaces > LAN.
Step 2: Under Static IPv4 Configuration, change the IPv4 address to your desired IP. For this guide, the IP is changed to 200.1.1.254 with a subnet of 24. Make sure the upstream gateway is set to None.

Step 3: Save and Apply Changes.
Step 4: You may be getting a HTTP_REFERER error as soon as you changed the IP address. This is because you have not added an Allow All rule onto your LAN interface.
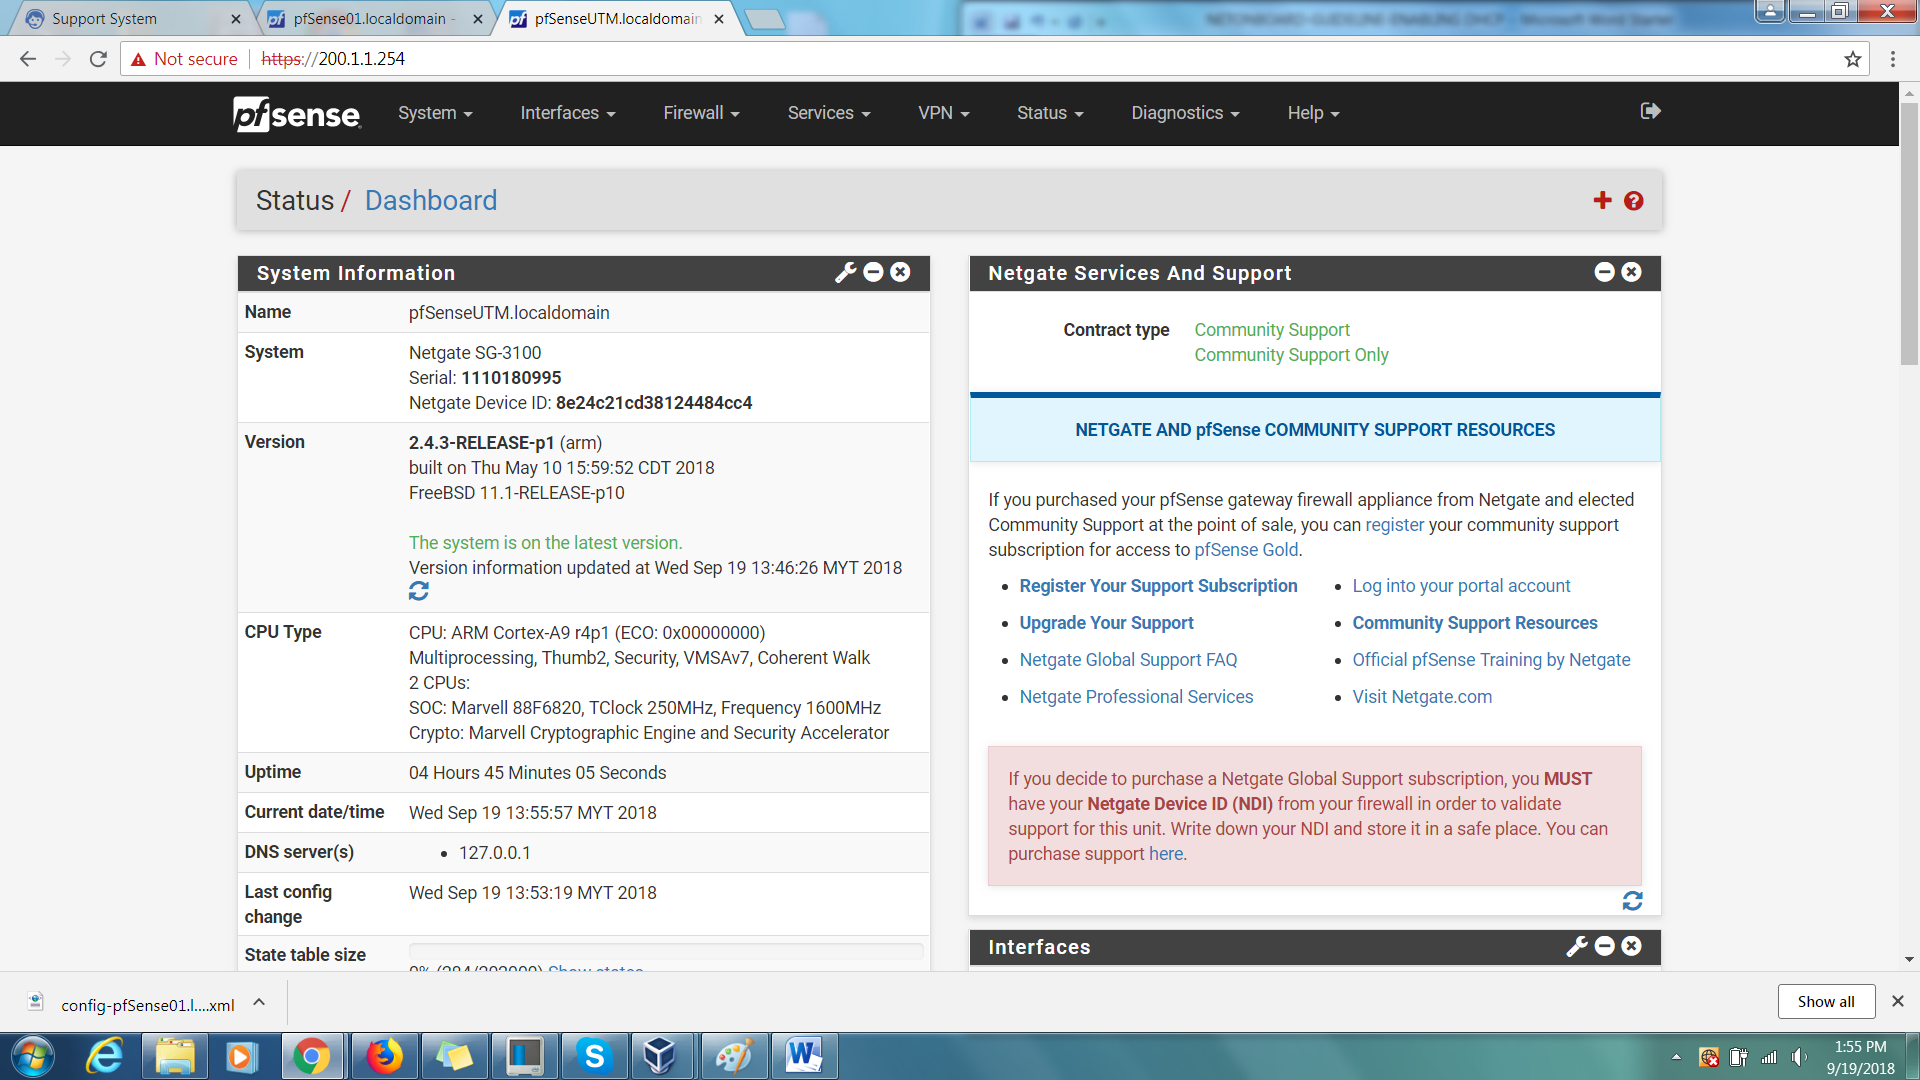
Step 5: Access the GUI again with the new IP after adding the rule (https://200.1.1.254).
Task 3: Enable DHCP service on LAN interface
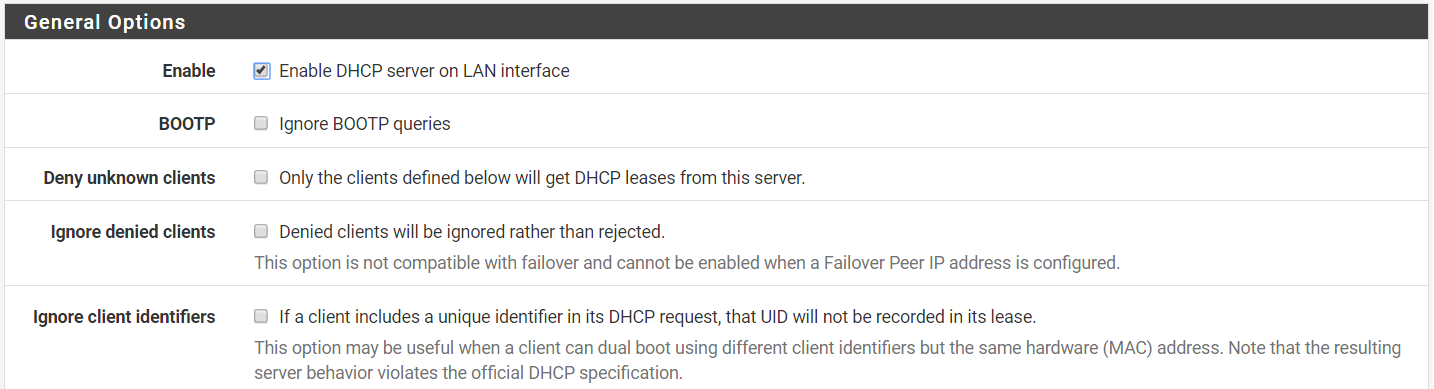
Step 1: Go to Services > DHCP server > LAN
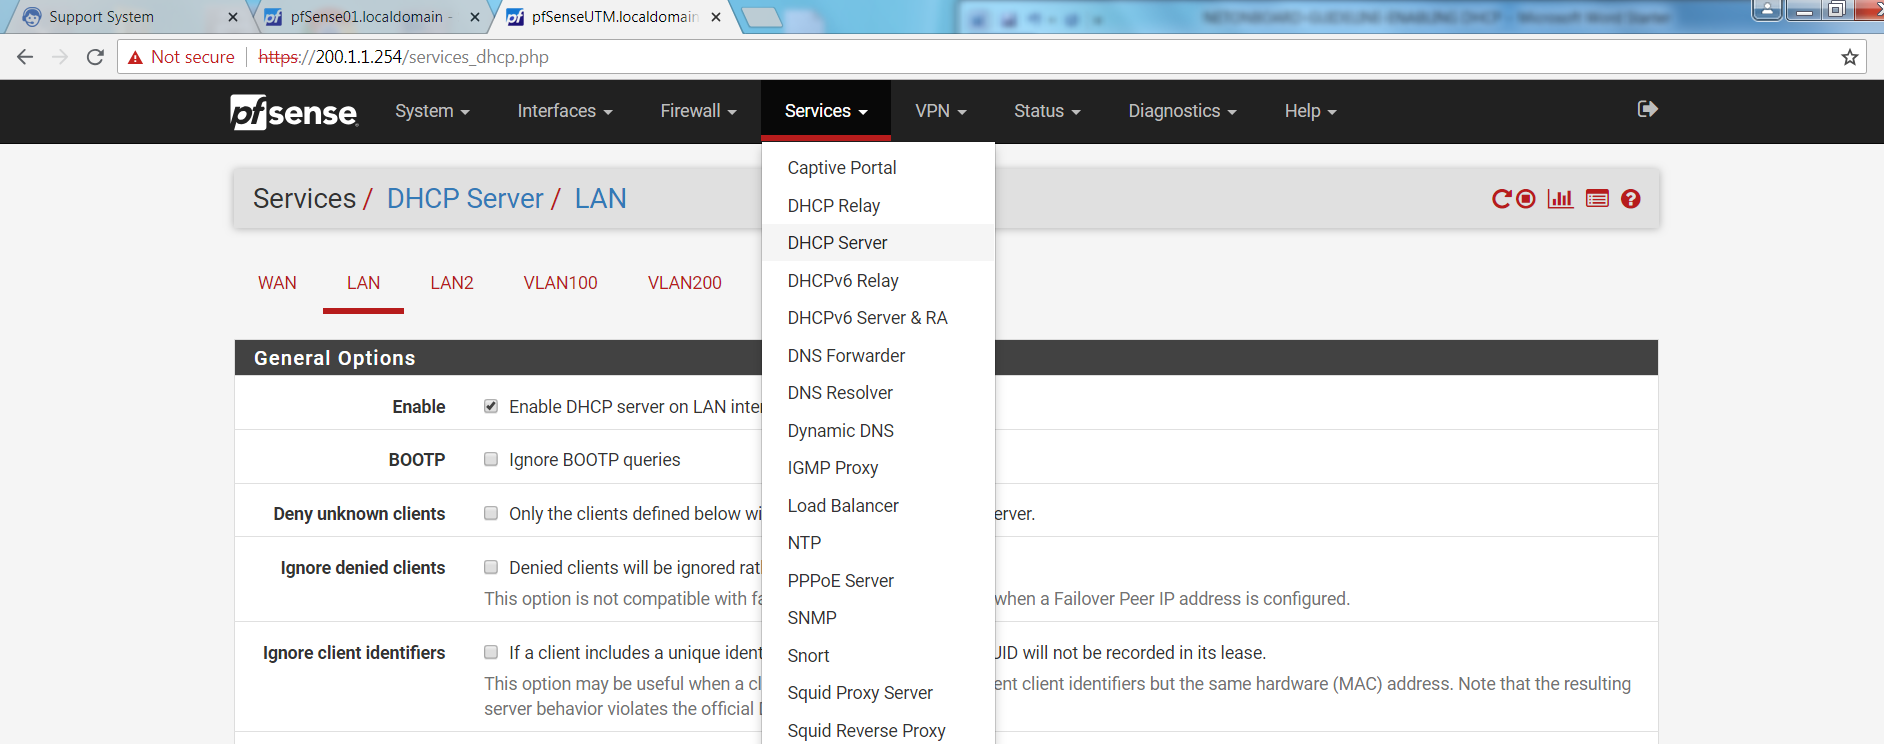
Step 2: Enable the DHCP service
Step 3: Specify the range of IPs available for devices.
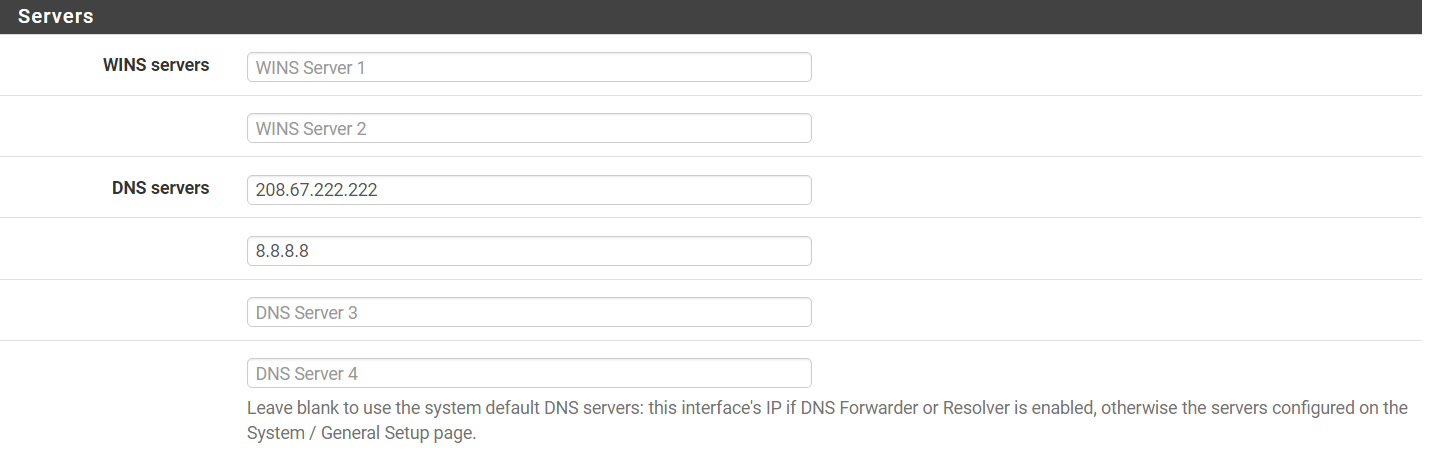
Step 4: Specify the DNS Servers
Task 4: Test the Configuration
Step 1: On your local computer (Windows), right click on Network icon and select ‘Open Network and Sharing Centre’.

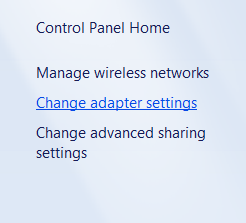
Step 2: Click on ‘Change adapter settings’.
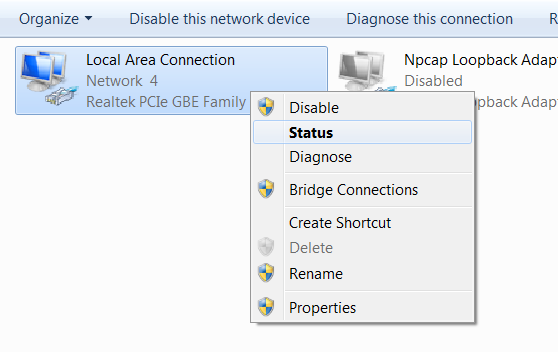
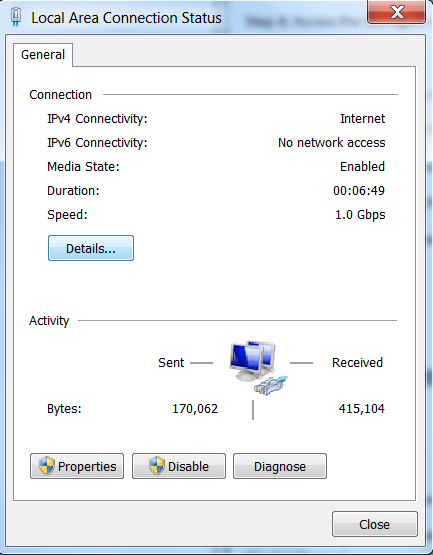
Step 3: Right click ‘Local Area Connection’ and select ‘Status’
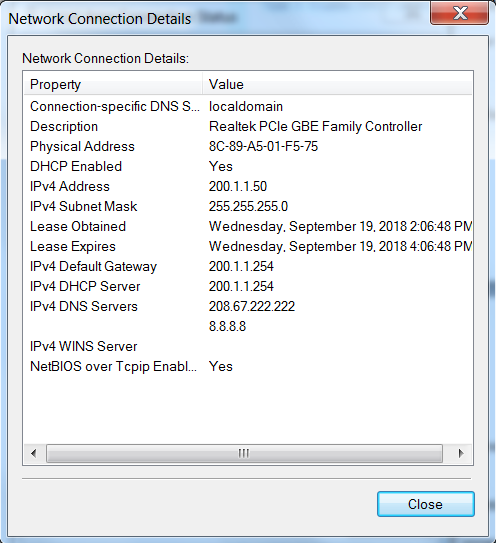
Step 4: Select ‘Details’
Step 5: On the Network Connection Details, if you see your local computer using the first available IP from the specified range (In this case, 200.1.1.50). Your DHCP service is working.