Objectives
This article serves as a quick guide on how to create sub accounts for billing management via the main billing account.
Prerequisites
- Access to main billing account
Steps
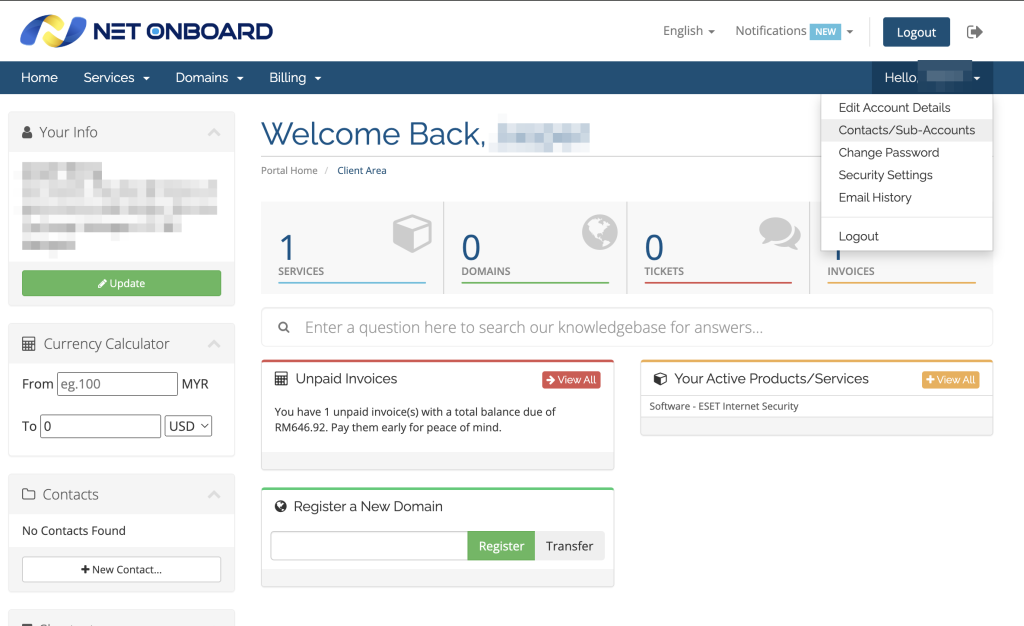
On your billing account, click on your profile name at the upper right corner.
Select Contacts/Sub-Accounts from the dropdown list.
To create a new sub-account, ensure Add New Contact is selected before clicking on Go.
You will then be shown an empty form to fill in the new user details.
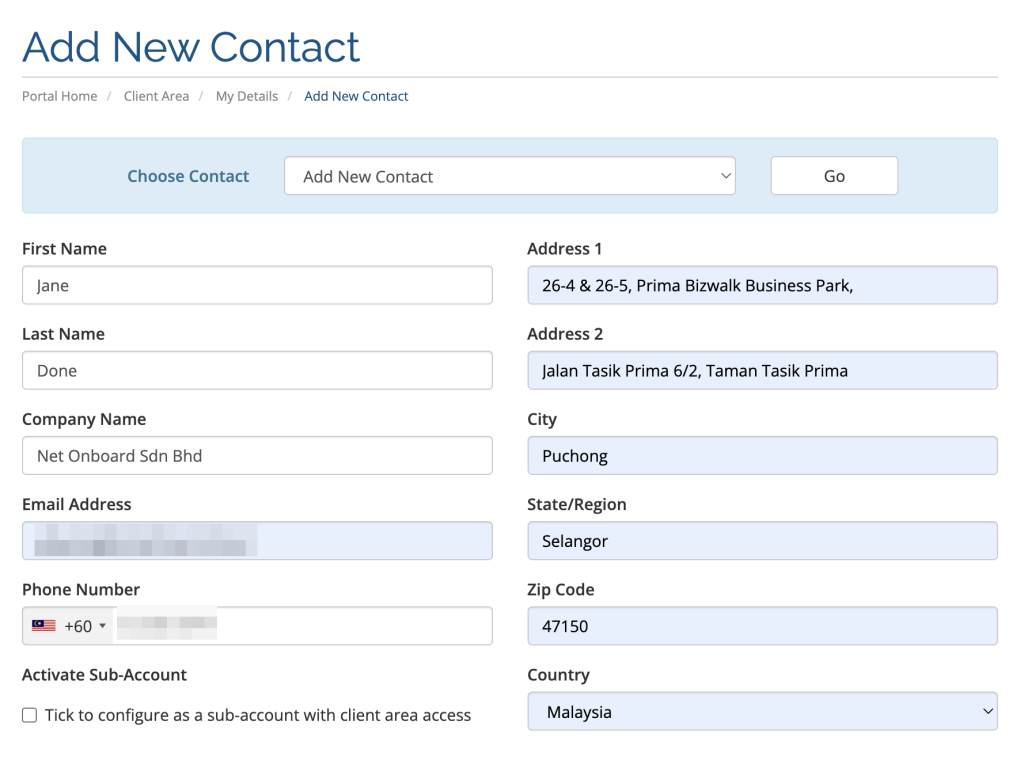
By default, new sub-accounts are mainly created for receiving invoice reminders. If you wish to enable billing access for the account, simply check the Tick to configure as a sub-account with client area access box.
Set a password for the new account, then assign the appropriate permissions. In this example, the new sub-account shall be able to access the billing profile to view and manage invoices only.
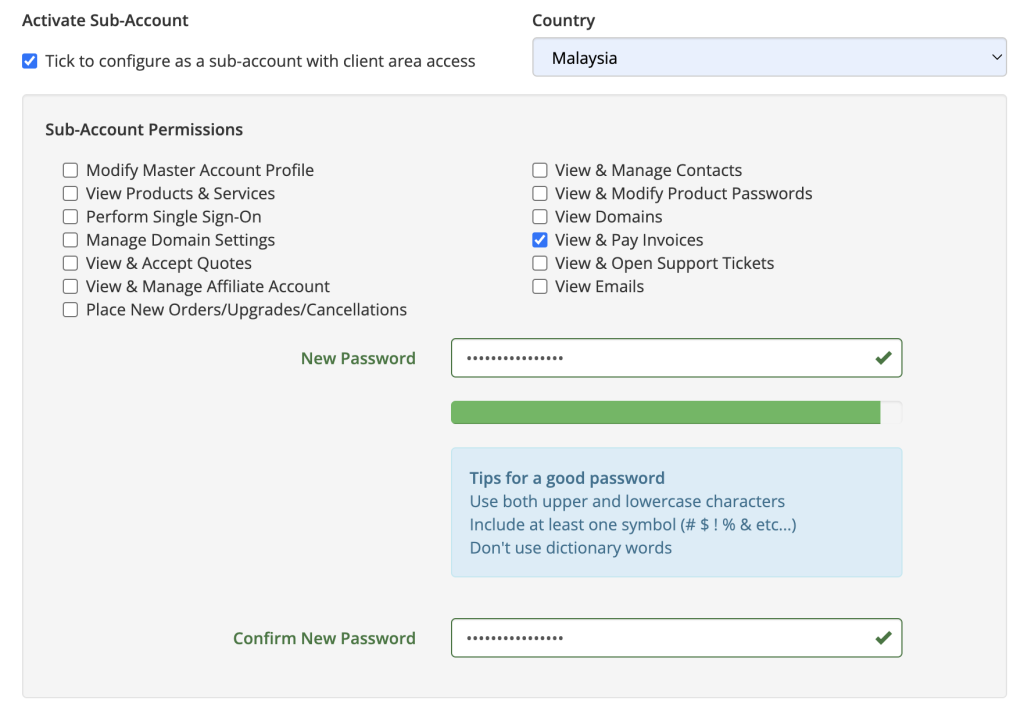
Finally, click on Save Changes to apply.