Objectives
Configure dual boot on a machine using two operating systems (Windows and Linux)
Prerequisites
- Old Windows Laptop
- USB Drive with at least 8 GB capacity or more
- Linux ISO Installer, preferably CentOS 7
Steps
Step 1: Create a Bootable CentOS USB Drive
Create a bootable CentOS USB drive using Balena Etcher.

Select Flash from file, then select the CentOS 7 ISO file. Afterwards, click on Select target and choose your designated USB drive from the list.
Finally, select Flash! and wait a few moments to obtain your bootable CentOS USB drive.
Step 2: Shrink a Volume to Install CentOS 7 on Windows 10
Create a free space in your Windows 10 hard drive volume in order to install CentOS 7. Press Windows Button + R and type
diskmgmt.msc
Afterwards, right click on the partition that you are going to use for the CentOS installation and select Shrink Volume.
Then, specify the volume size that you are going to use for CentOS.
Note: This is a delicate step, do ensure that the partition (Logical Drive) is shrink properly before continuing.


You will then see the free space indicator in the Disk Management Screen. You may now proceed with installing CentOS to your machine.

Step 3: Configuring CentOS 7 Installation
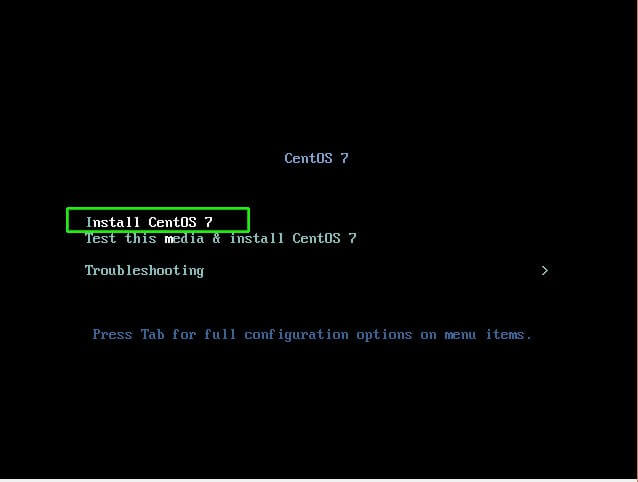
Plug in your bootable USB drive and reboot your machine. Upon rebooting, a screen will appear and present a list of choices for you.
Select Install CentOS 7 to begin installation.
After a series of loading screens, you will be brought to the main installation screen.
You can customize the Localization tab according to your preferences.
In the Software tab, select Local Media as the installation source and Minimal Install as the software selection.
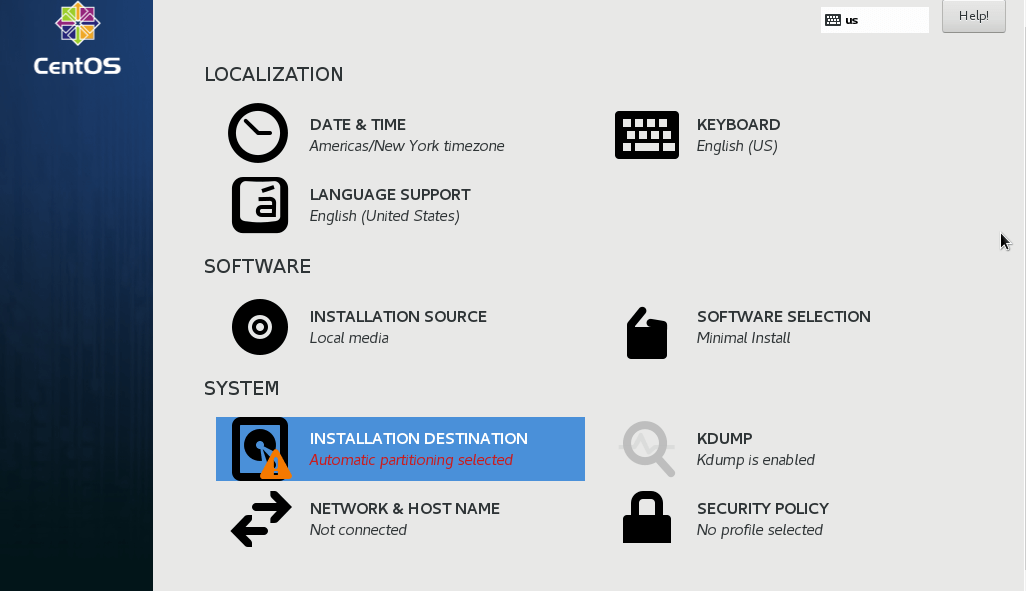
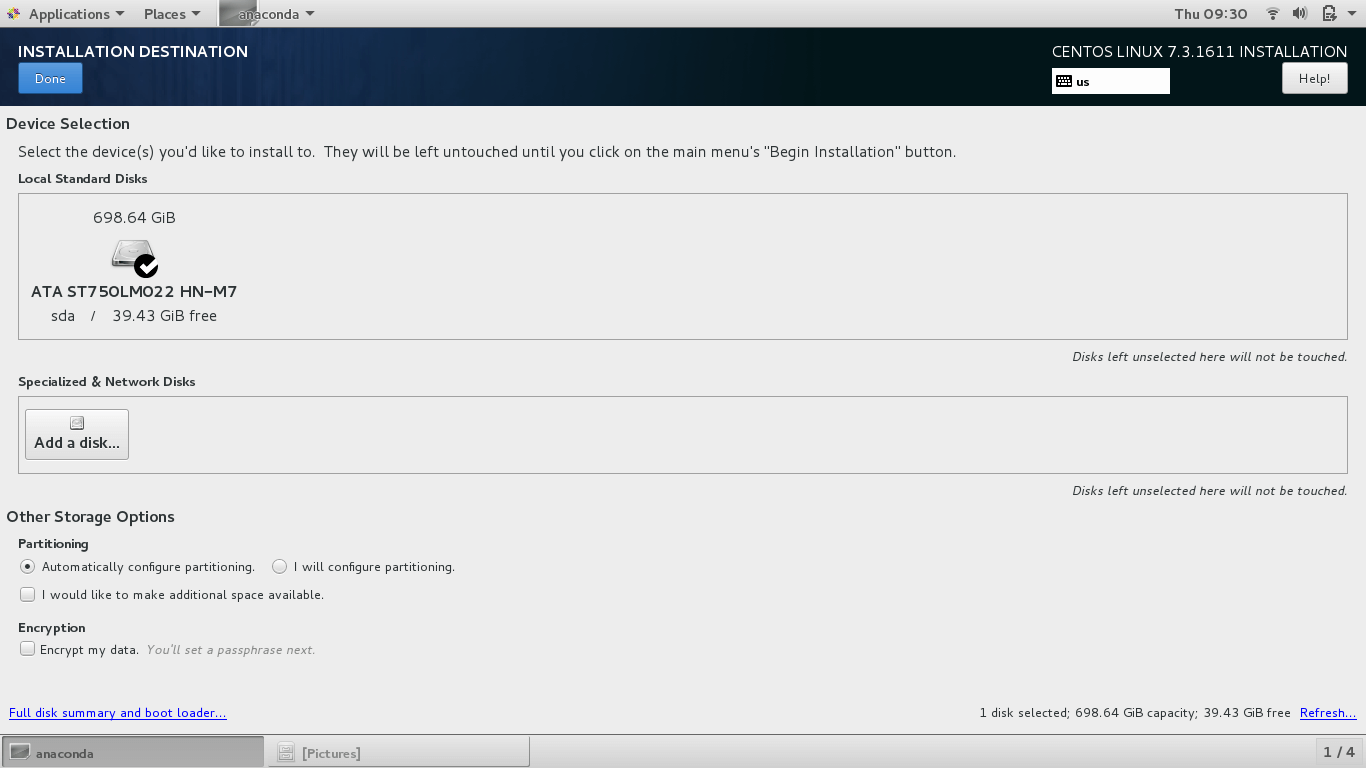
In the Installation Destination menu, select the volume that you have shrunk previously as the destination.
Then, select I will configure partitioning in the Other Storage Options tab.
Next, select the LVM (Local Volume manager) or any other mount point.
Then click on Click here to create them automatically.
Select LVM and then Click here to create them automatically.
When you have finished, click on Done to save the changes.

Next, skim through the summary of changes and when you are done, click on the Accept Changes button.

Next, select Network and Host Name under the installation menu, and turn on Ethernet.


Step 4: Begin CentOS Installation
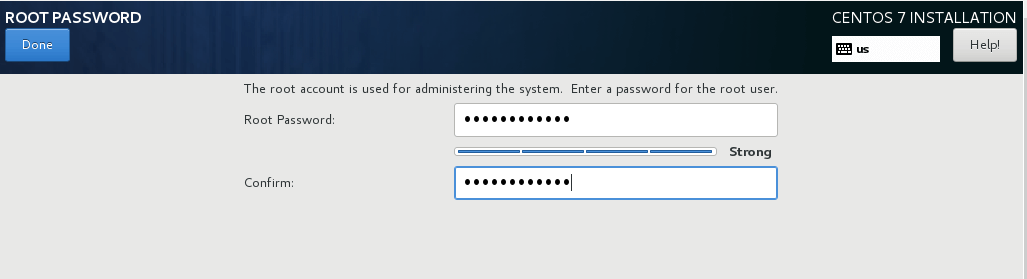
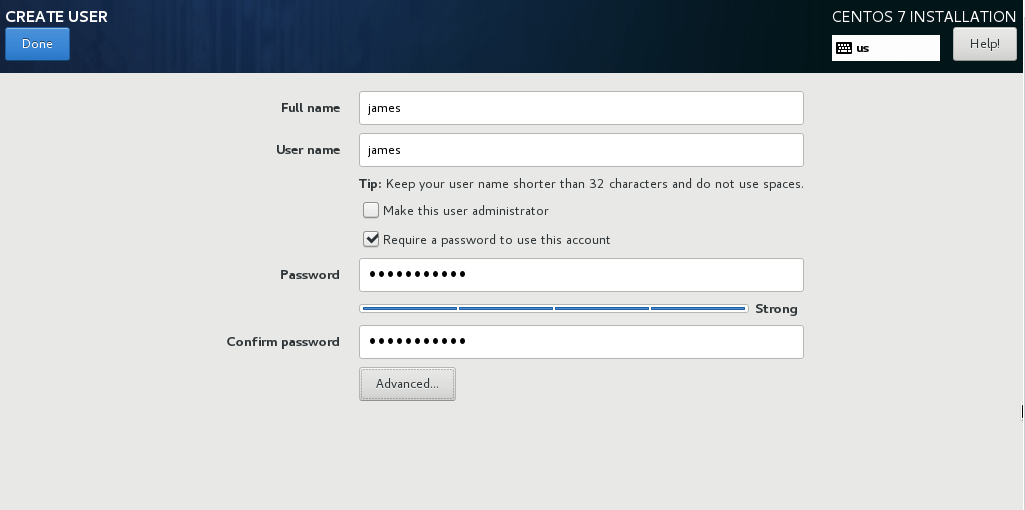
Once everything has been finalized, click on “Begin Installation”. You will then be prompted to create a password for the root (superuser) account and a normal user for the system.
Make sure to create a strong password for the root account.
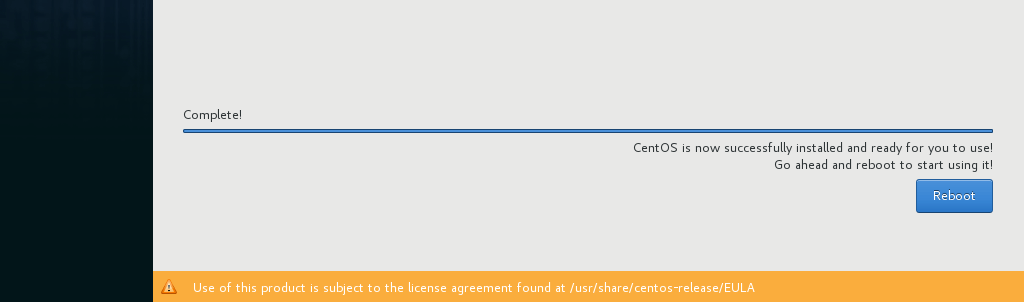
Now the installation will start. You need to wait until it has finished and then you will be prompted to reboot your system.
Step 4: Configure Boot Selection for Windows
The system is done for dual booting. At the first boot, you will only see 2 CentOS selections. In order to configure the selection for Windows, boot to CentOS and navigate to the following filepath.
cd /etc/grub.dcd /etc/grub.d
Use the nano text editor to edit the 41_custom file.
nano 41_custom
If you don’t have nano installed, install it by using yum install nano. After you open nano, insert these instructions into the file
cat << EOF
  menuentry "Windows10" {
  set root= '(hd0,1)'
  chainloader +1
}
EOF
Afterwards, run the following command
grub2-mkconfig -o /boot/grub2/grub.cfg
The result would be an added tab called Windows10 in your boot screen
