Objectives
Configure and operate R1Soft Backup Manager to perform server backups.
Prerequisites
- 1x Linux machine, preferably CentOS (acting as manager)
- 1 or more Windows/Linux Server OS (acting as client)
Steps
Step 1: Install R1Soft Backup Manager on CentOS
Create a .repo file for yum, which contains the R1Soft repository information using the following command.
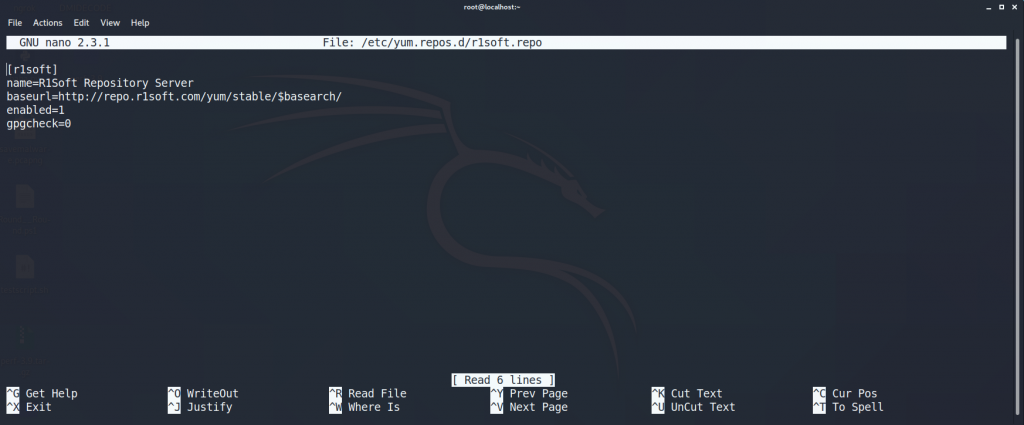
nano -w /etc/yum.repos.d/r1soft.repo
Add the following lines to the .repo file
[r1soft]
name=R1Soft Repository Server
baseurl= http://repo.r1soft.com/yum/stable/$basearch/
enabled=1
gpgcheck=0
Verify the file you have just written by using the following command.
cat /etc/yum.repos.d/r1soft.repo
Next, install R1Soft Backup Manager by using the following command.
yum install -y serverbackup-enterprise
Step 2: Configure and Start the Server Backup Manager Web Interface
Define a username and password for the Backup Manager Web Interface using the following command.
serverbackup-setup --user <username> --pass <password>
Afterwards, restart the cdp-server service by using the following command.
/etc/init.d/cdp-server restart
In the case that you want to change the default HTTP and HTTPS ports (80 and 443 by default), do so by using the following command.
serverbackup-setup --http-port <port_number> --https-port <port_number>
After changing the ports, restart the cdp-server service one more time.
Step 3: Operating R1Soft Server Backup Manager Web Interface
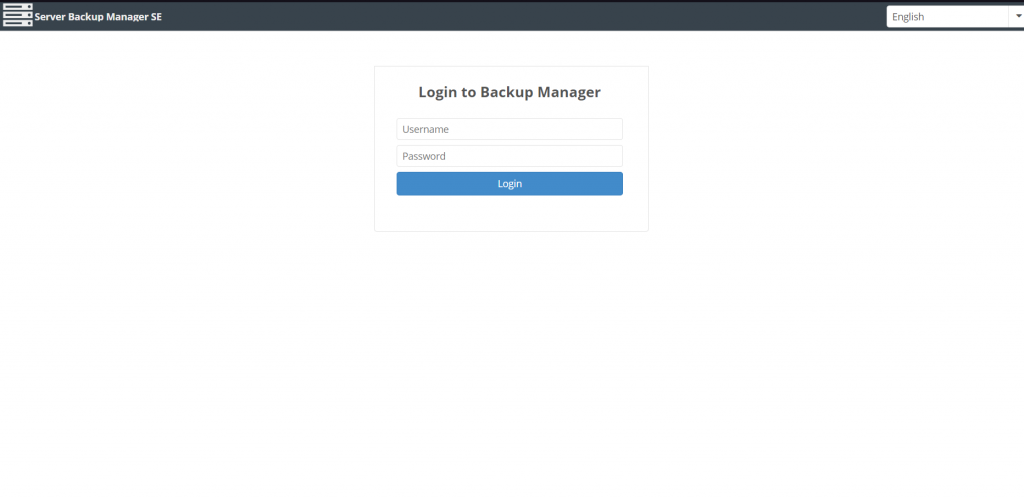
Visit the IP address of your server manager machine through the web browser. Login with the credentials that you have configured in Task 2.
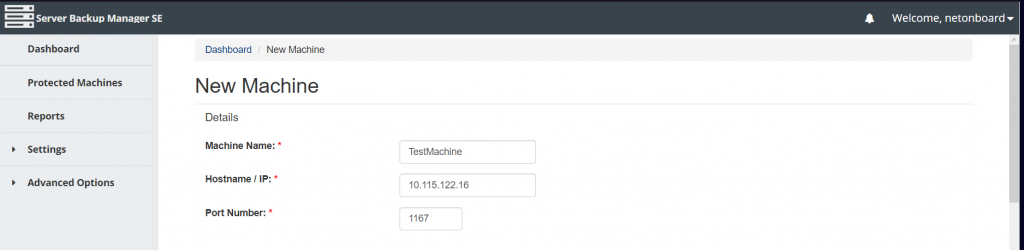
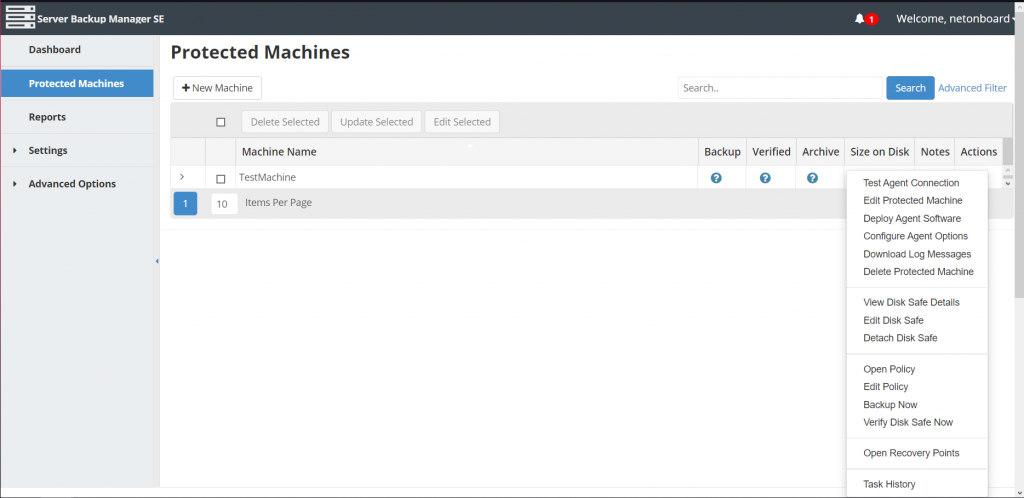
Navigate to Protected Machines and click on New Machine to add a new client machine.
Enter the machine name and IP address. Then, specify the port number of the machine which will be used for connecting purposes.
Note that you have to give access to this port in your client machine by configuring the firewall.
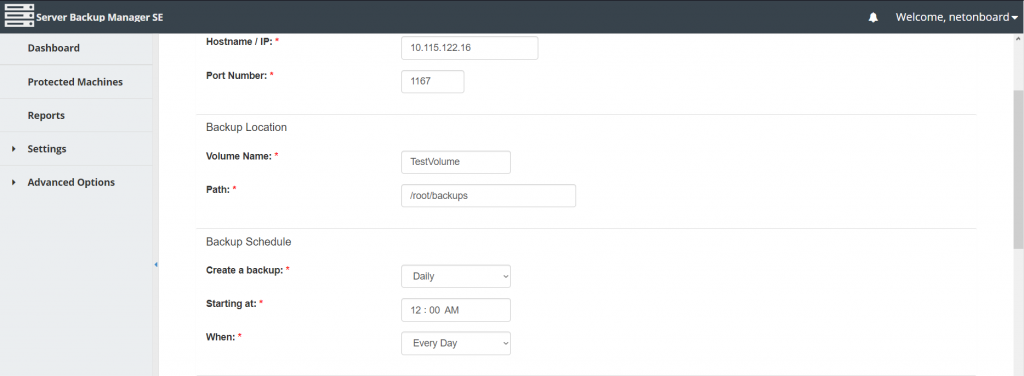
Specify the backup location and backup schedule. Afterwards, select the compression type and encryption which you want to use for the backup file.
Next, you have the option to deploy the agent software directly to the client machine. Check on this option if you would like to remotely deploy the backup agent.
If you choose to do so, make sure to provide the administrator account credentials to enable the backup manager to connect with the client.
Once connected, you can control and perform various tasks on the client machine through the web interface by navigating to Protected Machines, select the corresponding machine, and click on Actions on the far right side.
In case the automatic installation fails, you need to install the R1Soft Agent manually in the target machine, which will be explained in the next step.
Step 4: Installing R1Soft Agent Manually
Install R1Soft Agent Package
On the agent machine, create a .repo file for yum, which contains the R1Soft repository information using the following command.
nano -w /etc/yum.repos.d/r1soft.repo
Add the following lines to the .repo file
[r1soft]
name=R1Soft Repository Server
baseurl= http://repo.r1soft.com/yum/stable/$basearch/
enabled=1
gpgcheck=0
Verify the file you have just written by using the following command.
cat /etc/yum.repos.d/r1soft.repo
Next, install R1Soft Backup Agent by using the following command.
yum install -y serverbackup-enterprise-agent
Then, use the following command to install the kernel-devel package, which will allow you to compile R1Soft’s modules.
Note that the command automatically matches your kernel version with the package.
yum install "kernel-devel-uname-r == $(uname -r)"
Next, run the following command using serverbackup-setup to build the kernel module for R1Soft:
serverbackup-setup --get-module
The command should output the following text upon succession.
Saving kernel module to ‘/lib/modules/r1soft/hcpdriver-cki-2.6.32-279.14.1.el6.i686.ko’
Kernel module is now installed.
Use ‘/etc/init.d/cdp-agent restart’ to load the new driver
Then, add the public key of the Backup Manager by using the following command.
serverbackup-setup --get-key <manager_ip_address>
Then, restart the newly installed driver with the following command.
/etc/init.d/cdp-agent restart
Finally, enable the backup service to start on boot:
systemctl enable cdp-agent