Objectives
Set up and configue ESET Management Center (ESMC) on Proxmox Virtual Environment.
Prerequisites
- WinSCP installed on host machine
- ESMC Appliance OVA file
- 1 VM to host the OVA file
- 1 Windows Server machine/VM with same range as the OVA VM
Steps
Step 1: Export ESMC Appliance OVA File into Proxmox
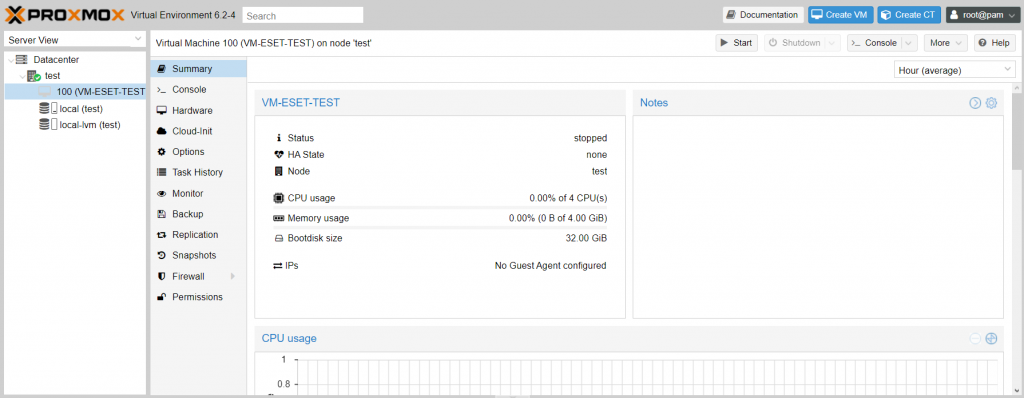
Create a new VM on Proxmox. You can use the default configurations, as you will only be needing it as a platform to import the OVA on.
Note the VM ID as you will be needing it when importing the OVA disk.
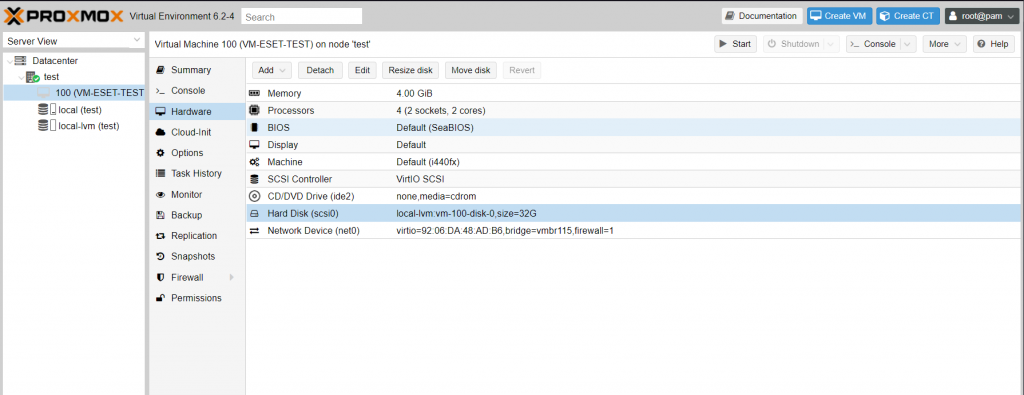
Open the VM configuration and navigate to Hardware. Select the disk of the VM that you created. Select the disk and choose Detach.
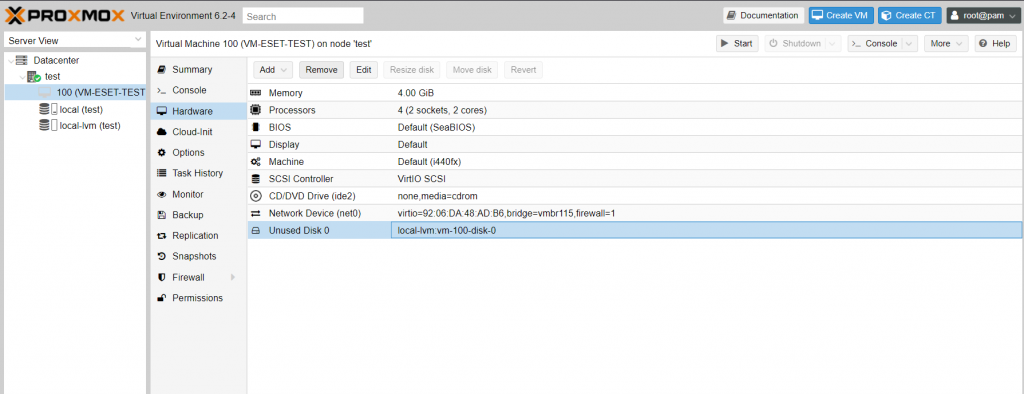
Afterwards, select Remove to remove the disk from your VM.
Use WinSCP to copy the OVA file into the Proxmox server.
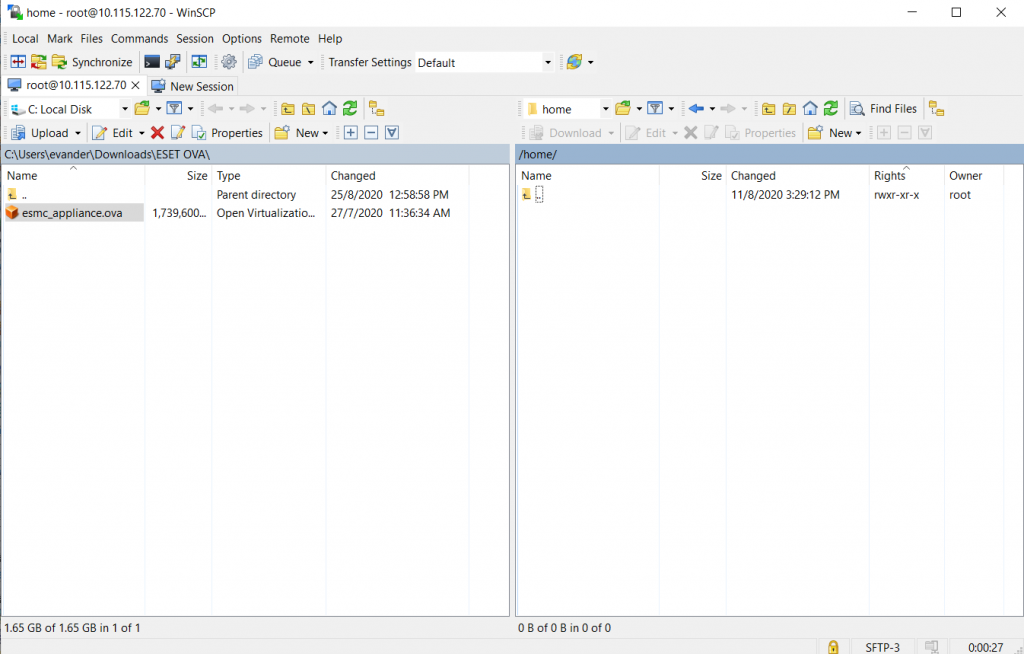
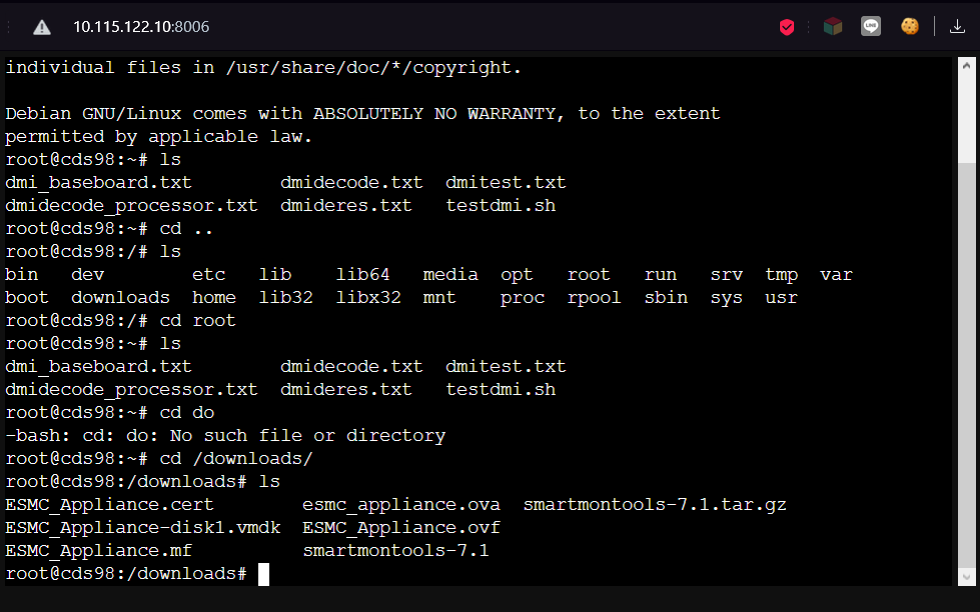
Once completed, open the Proxmox Shell and navigate to the directory you copied the OVA file to.
Unzip the OVA file by using the following command.
tar -xzvf <OVA Filename>
The result would be three separate files with .vmdk, .mf, and .ovf extensions. You will be importing the .vmdk file as the new disk file.
Next, import the new disk by using the following command.
qm importdisk <VMID> <filename.vmdk> <storage_name> -format qcow2
Assign the new disk to the VM by navigating to Hardware and click on Edit. Afterwards, add the new disk which you have just imported.
Step 2: Set Up and Configure ESET Management Center Server Appliance
Start the ESMC Appliance VM. You will be greeted with the ESET Security Management Center Console.
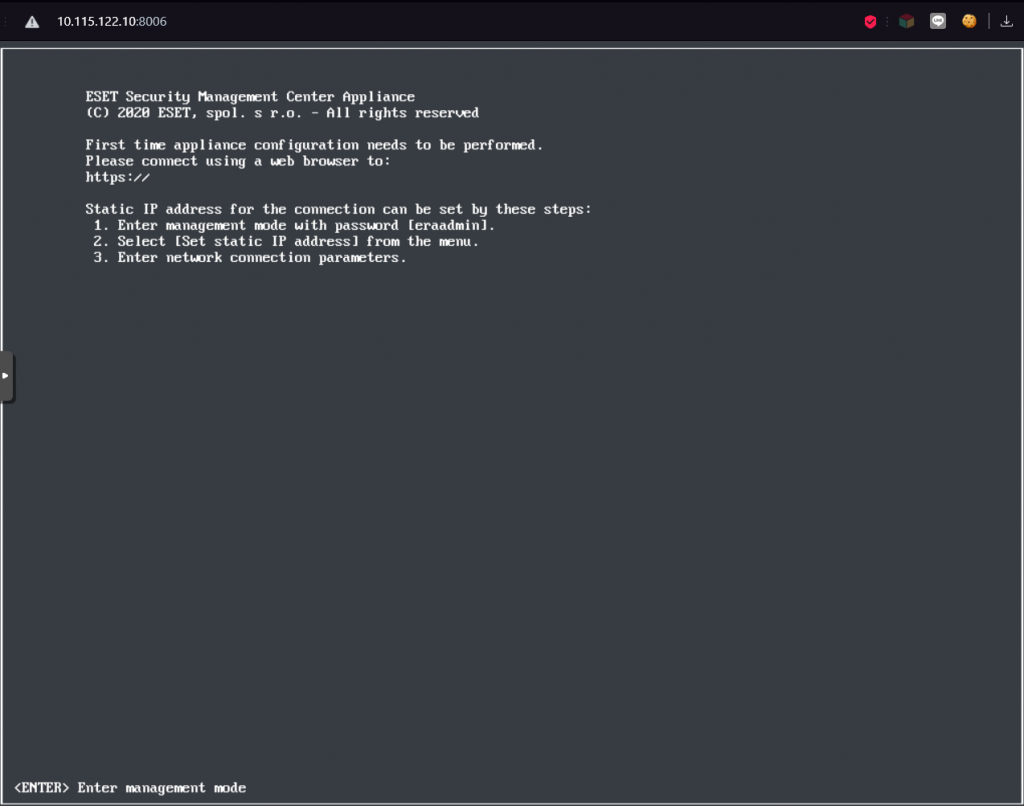
Press Enter to enter Management Mode. Enter the default password eraadmin.
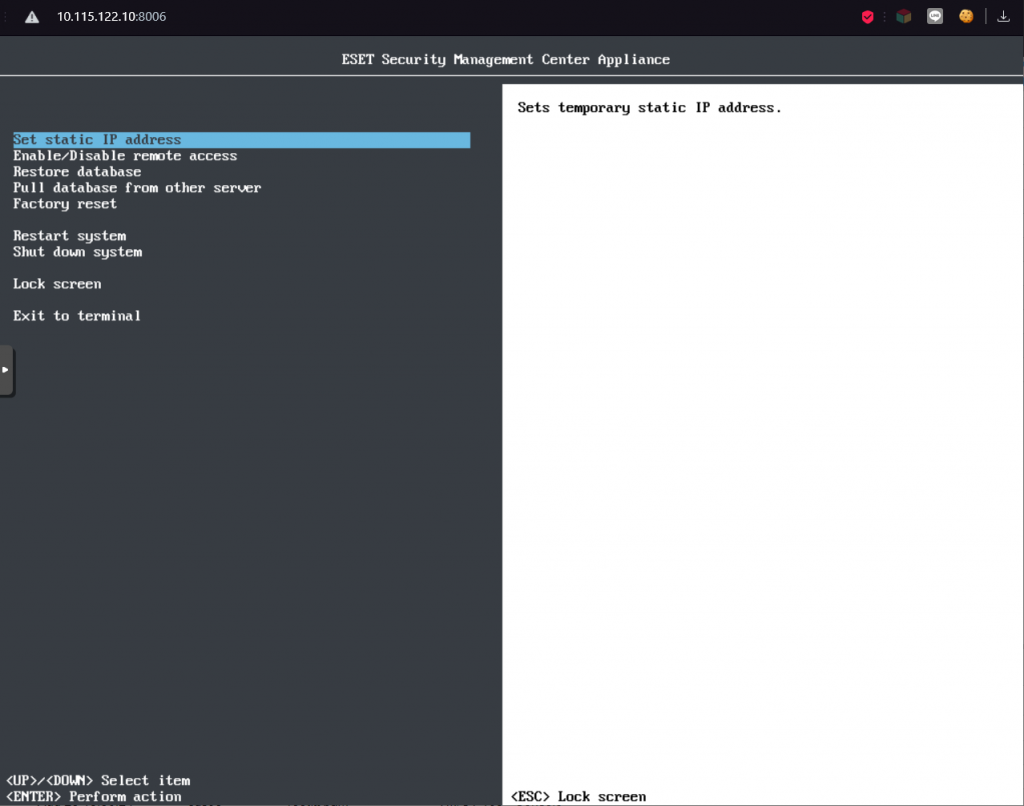
Select Set Static IPAddress and specify the server’s IP address, network mask, gateway address, and DNS server address.
Then, select Enable/Disable Remote Access if you wish to enable remote access to the server.
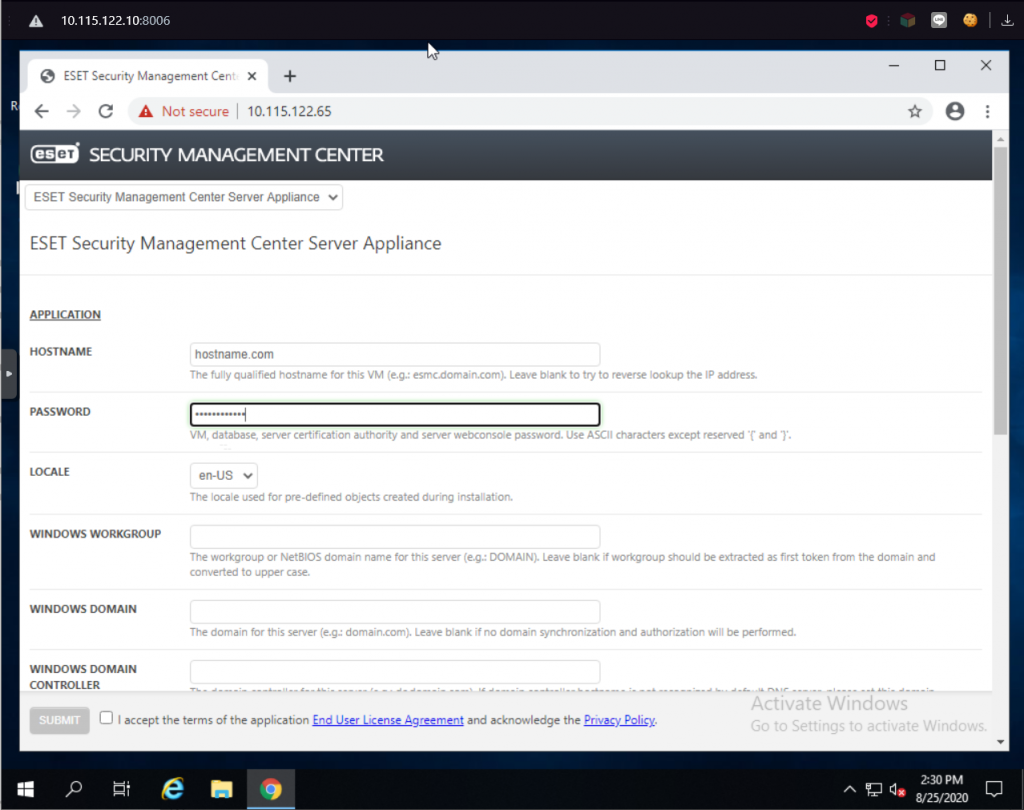
On the Windows Server machine, enter the corresponding IP address on your web browser.
Select ESET Security Management Center Server Appliance from the list.
Enter the following details:
Hostname: <Your Hostname>
Password: <Your Password>
Network IP Address: <Your IP Address>
Network Netmask: <Your Netmask>
Default Gateway: <Your Gateway Address>
DNS1: 8.8.8.8
DNS2: 8.8.4.4
Note: The Network IP Address must be different than the IP Address configured on Step 3.
Click Submit and wait for ESMC Server Appliance to be configured.
Step 3: Operating ESET Management Center Server Appliance
On the target client machine, navigate to the IP address of the ESMC Server Appliance through your web browser.
Login with the credentials that you have set up.

Click on the ESET logo on the top left corner to enter the Dashboard.
To add hosts/computers to manage, click on Computer > Add New > Computer.
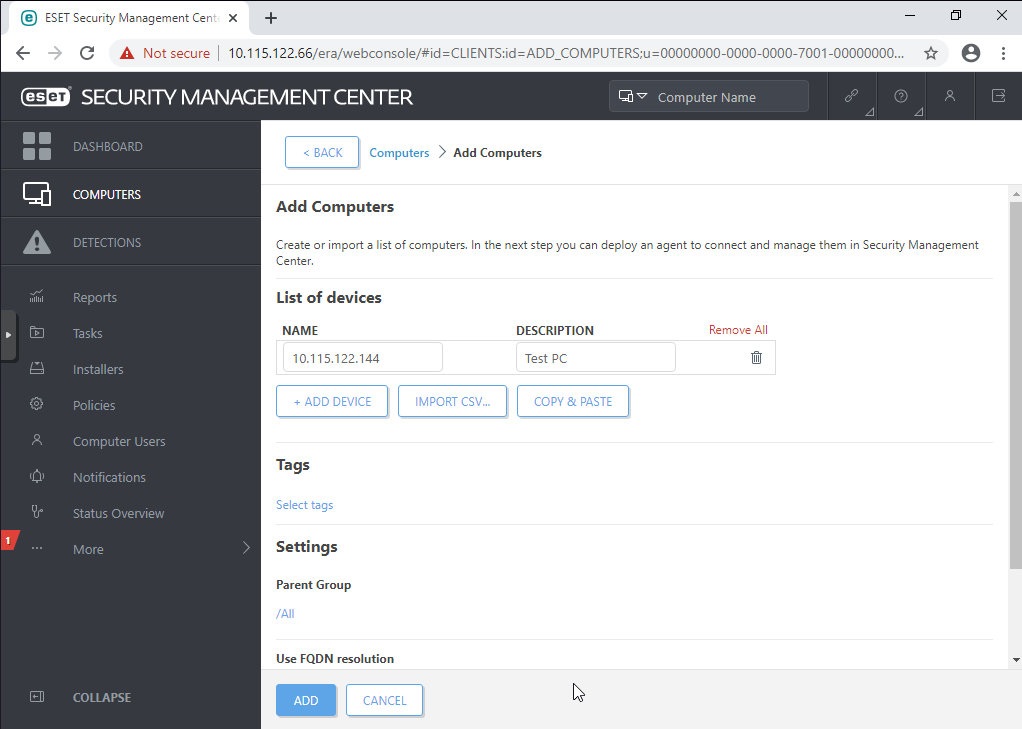
Enter the following details.
Name: <IP Address of target computer>
Description > <Your Description>
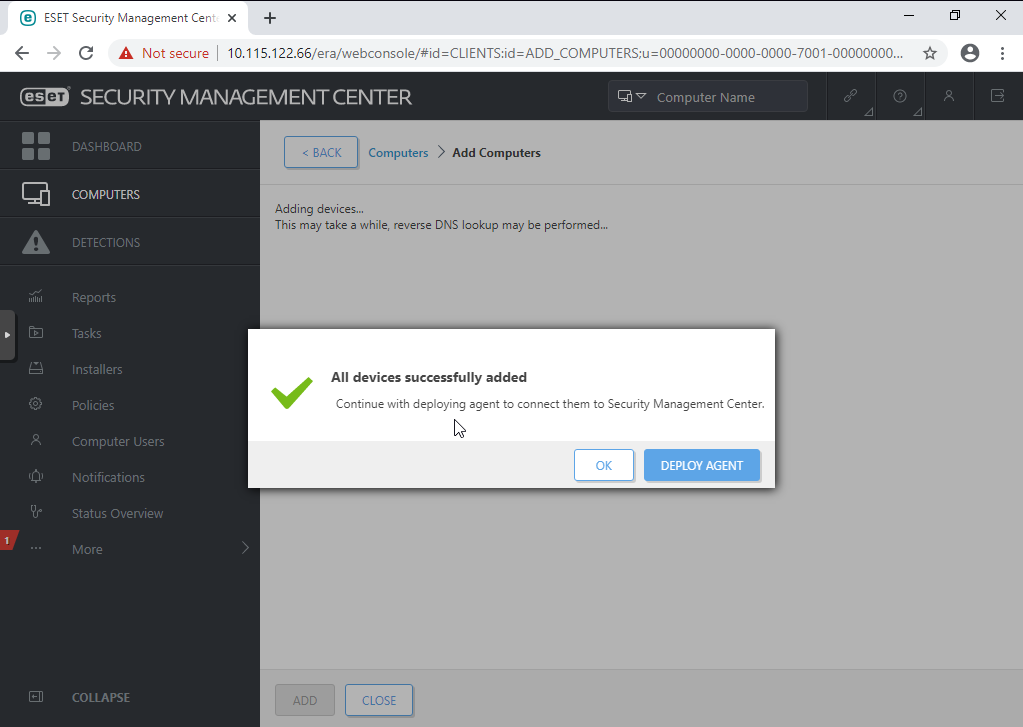
Then, click Add.
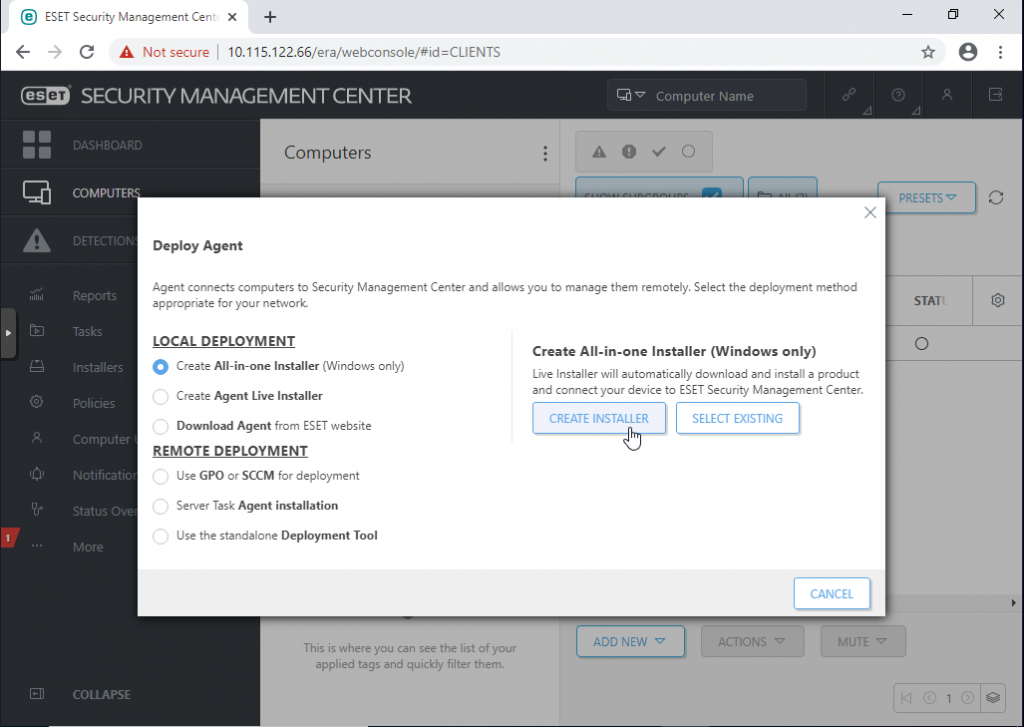
Afterwards, click on Deploy Agent to deploy the ESET Management Agent in order to enable the manager to control the client remotely.
Select Create All-in-One Installer > Create Installer.
Under Basic Tab, select the products you want to install.
Under Advanced Tab, enter the following details.
Name > <Your Task Name>
Description > <Your Description>
Server Hostname > <IP Address of ESMC Server Appliance>
Then, click Finish.
Download the installer, either 32-bit or 64-bit according to your machine. Then, install the agent software to initialize connection between the client and manager.
After connection is initialized, you can remotely control the machine via the Web Console, doing tasks such as reboot, Windows update, etc.