Objectives
Installing a virtual firewall called PfSense onto a Linux virtual machine.
Prerequisites
1. Linux Virtual Machine
2. PFSense V2.4.3 – https://www.pfsense.org/download/
3. Oracle VM VirtualBox
Steps
Task 1: Create a Virtual Machine with VirtualBox
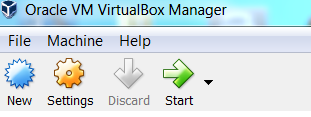
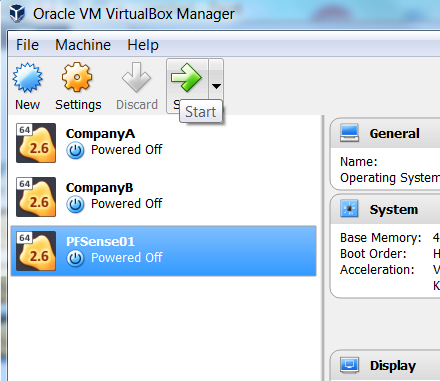
Step 1: Access Oracle VM VirtualBox and select ‘New’
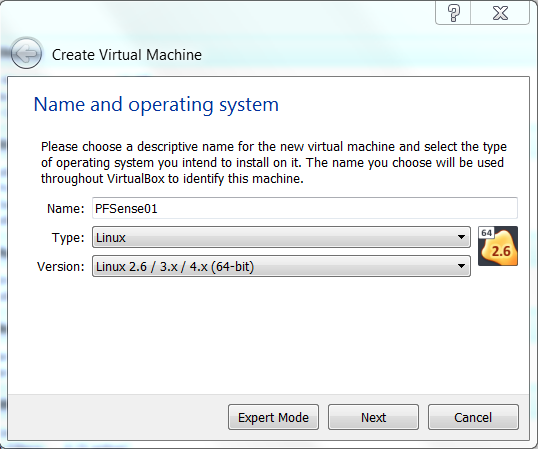
 Step 2: On ‘Name and operating system’ screen:
Name > PFSense01
Type > Linux
Version > Linux 2.6/3.x/4.x (64-bit)
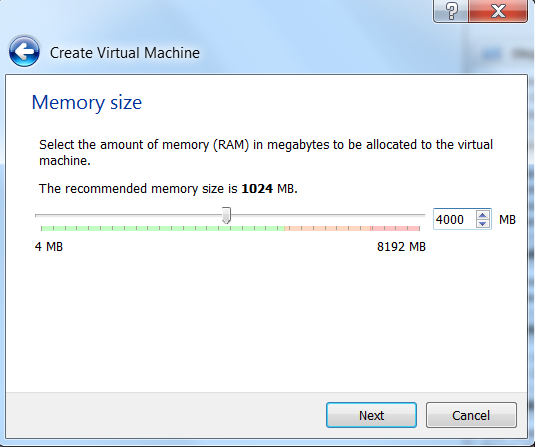
Step 3: On ‘Memory Size’ screen:
Memory > 4000MB (The recommended 1024 MB is sufficient)
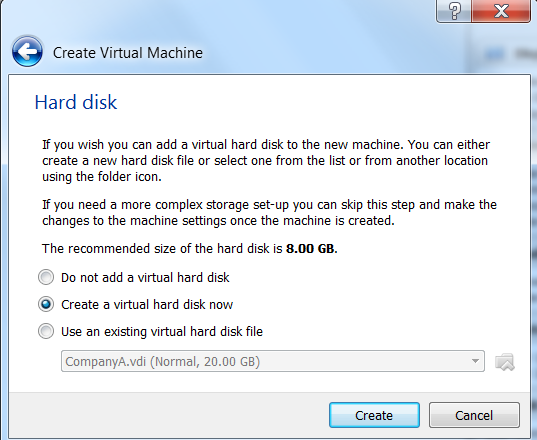
Step 4: On ‘Hard disk’ screen, select ‘Create a virtual hard disk now’.
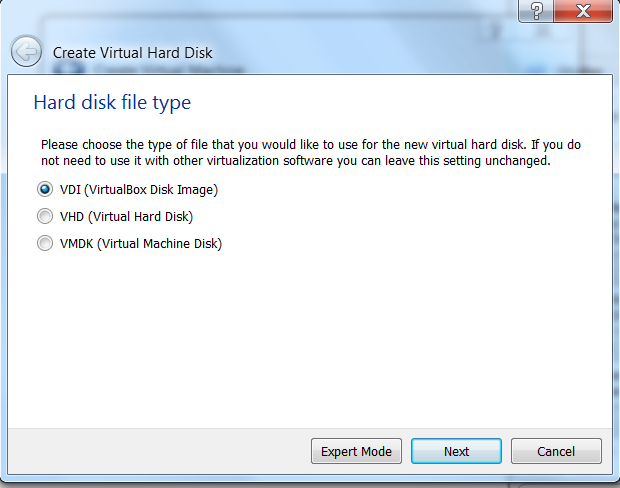
Step 5: On ‘Hard disk file type’, select ‘VDI (VirtualBox Disk Image)’.
Then, select ‘Next’.
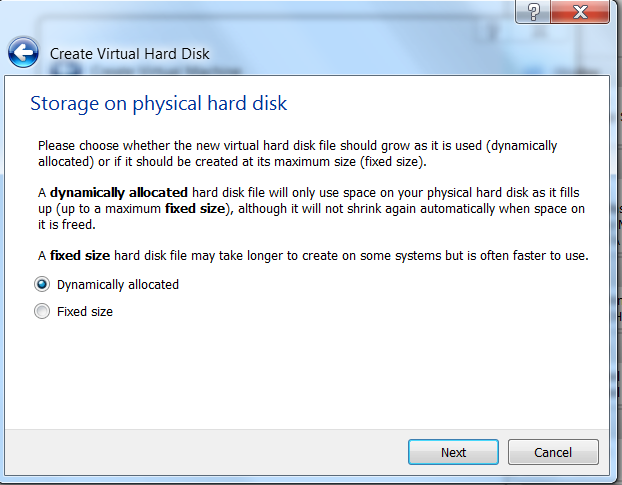
Step 6: On ‘Storage on physical hard disk’ screen, select ‘Dynamically Allocated’.
Then, select ‘Next’.
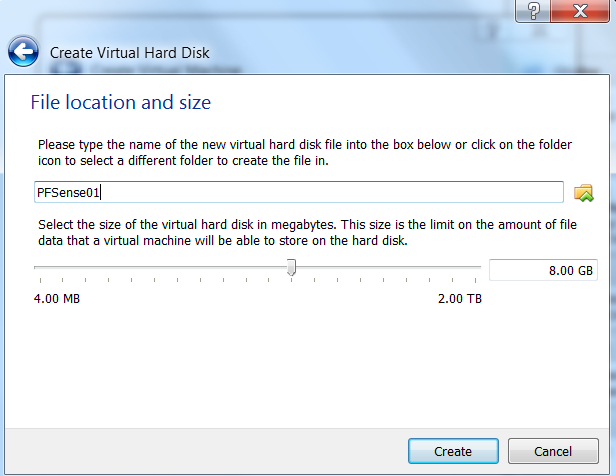
Step 7: On ‘File Location and size’ screen:
Filename > PFSense01
Size > 20.00 GB
Then, select ‘Create’.
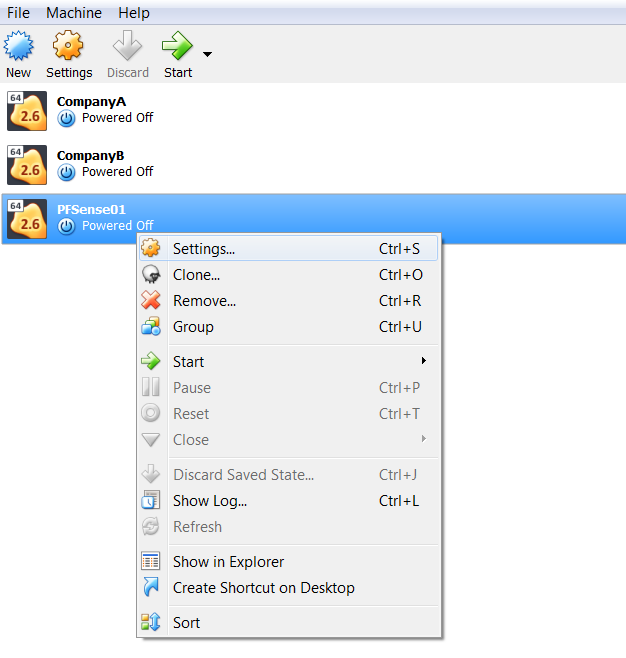
Step 8: Right-click on the created VM and select ‘Settings’.
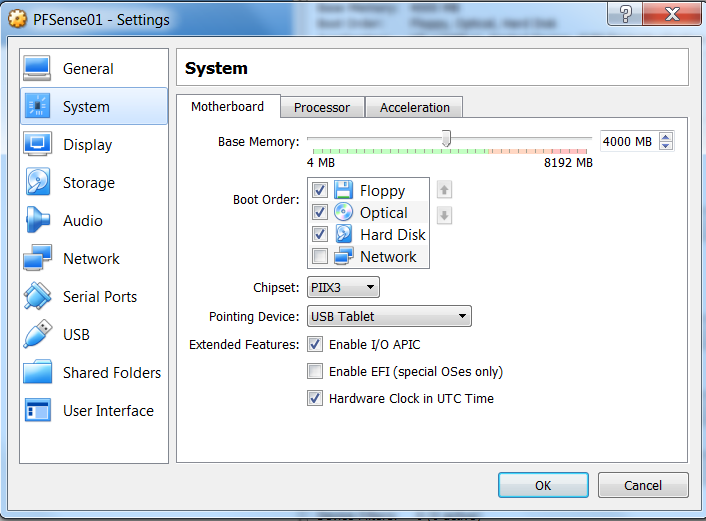
Step 9: Go to the System tab, rearrange the boot order to Hard Disk > Optical > Floppy
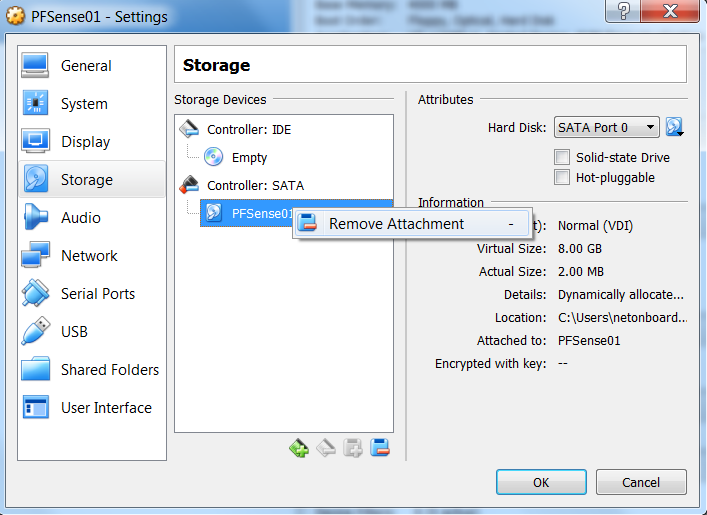
Step 10: Go to Storage tab, remove the VDI under Contoller: SATA by right-clicking the VDI and select ‘Remove attachment’.
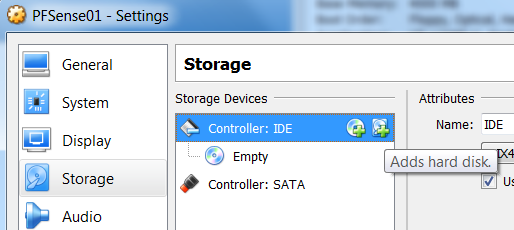
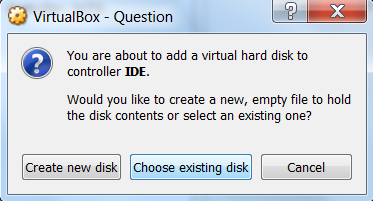
Step 11: Add the same VDI to Controller: IDE by selecting the hard disk icon.
Step 12: Select ‘Choose existing hard disk’ and locate the VDI.
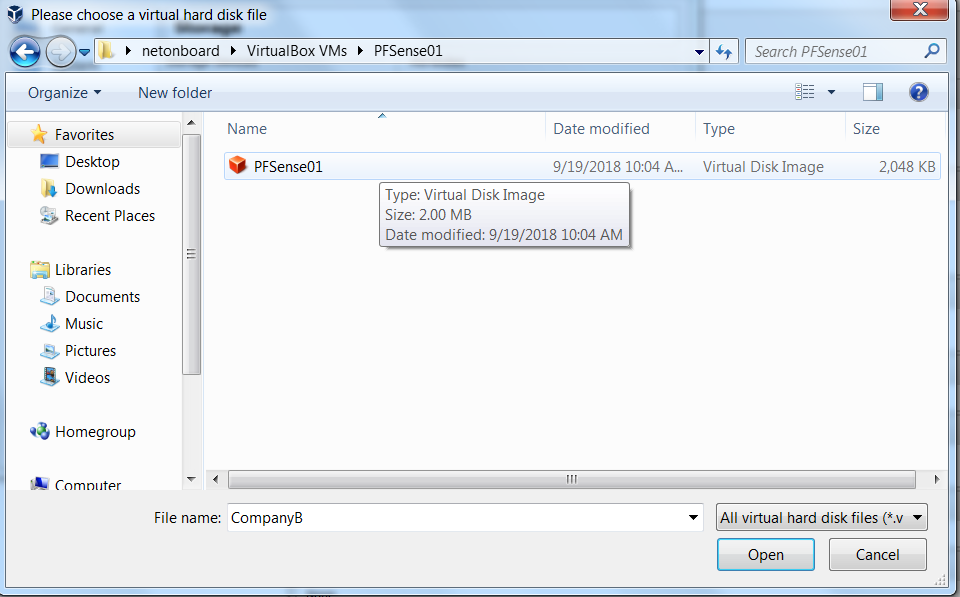
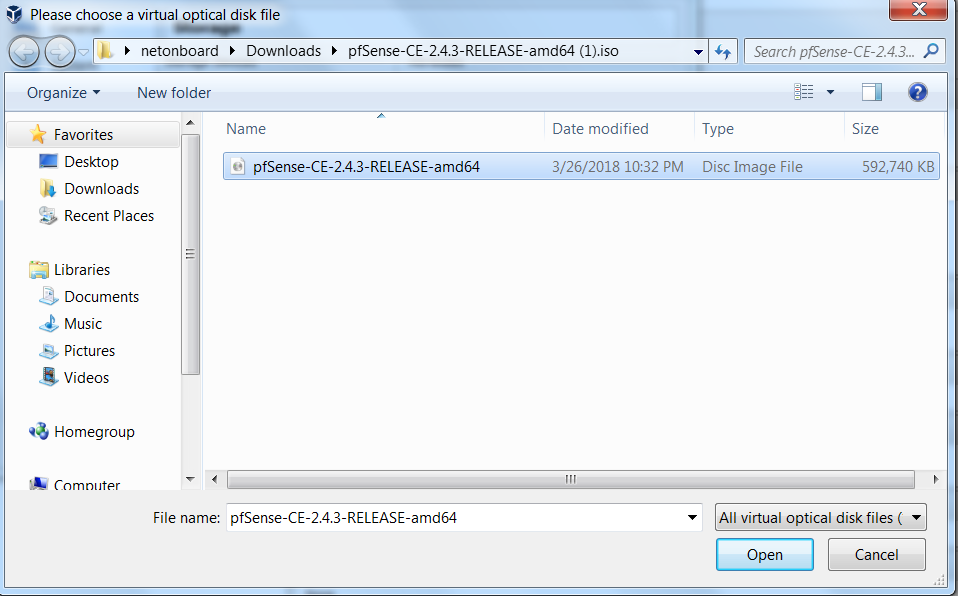
Step 13: Add the needed iso file (PFSense) by clicking on the CD icon and selecting ‘Choose Virtual Optical Disk File…’

Step 14: Locate the Iso file (Make sure to extract the file first).
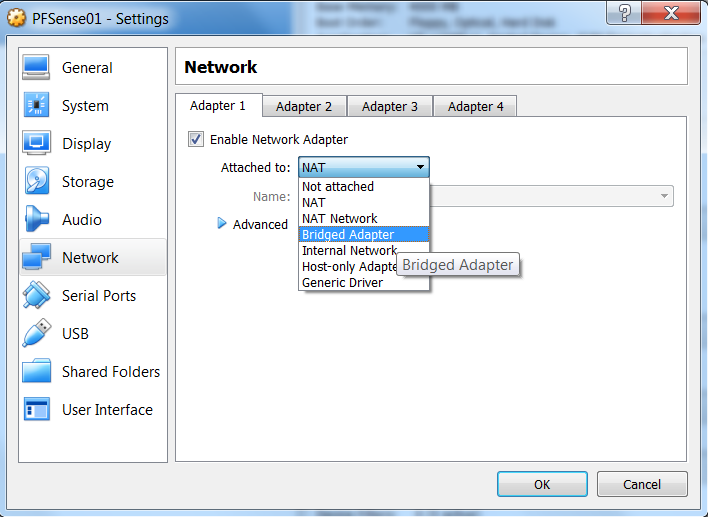
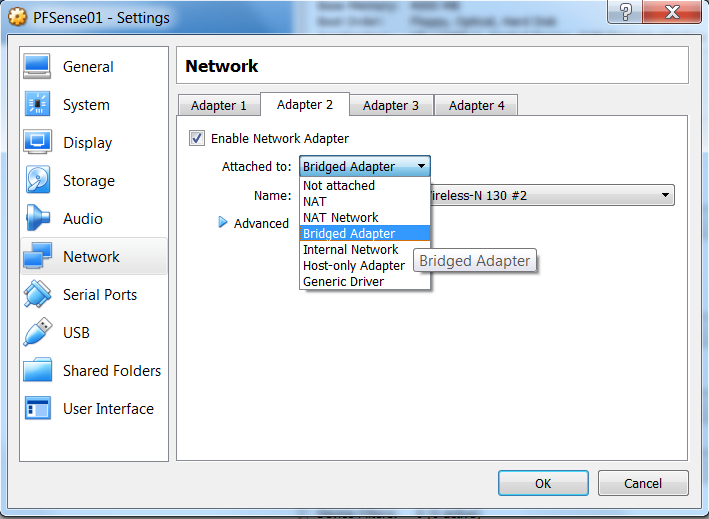
Step 15: Go to Network tab and enable Adapter 1 and 2.
Both with ‘Bridged Adapter’ selected.
Step 16: Start the Virtual Machine
Task 2: Install pfSense
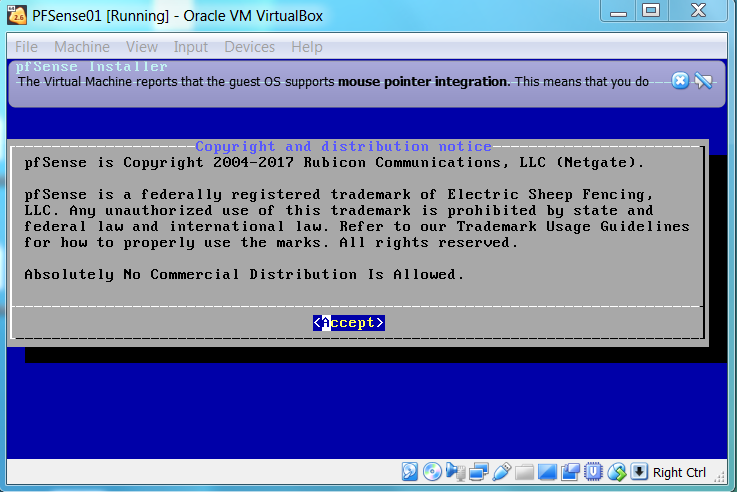
Step 1: Wait for several seconds before you are directed to a copyright disclaimer screen and select ‘Accept’.
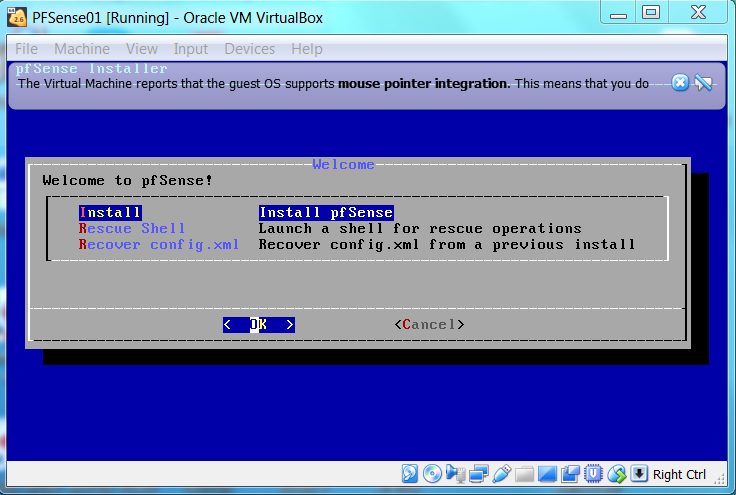
Step 2: Select ‘Install’ and then ‘OK’.
Step 3: Set option to ‘Continue with default keymap’ and then ‘Select’.

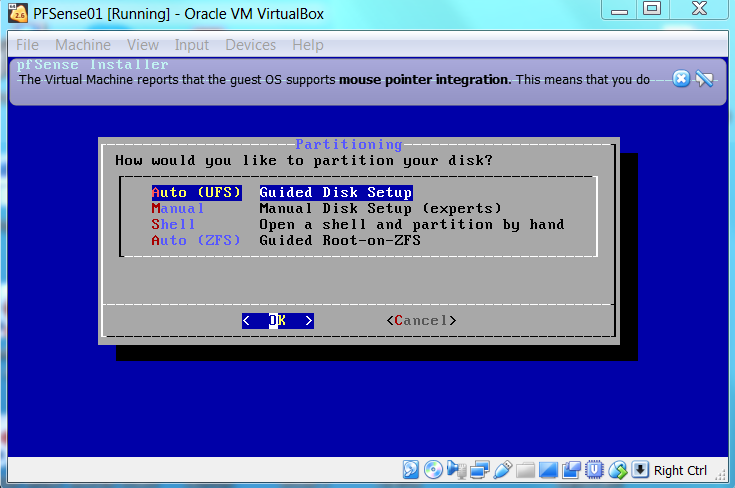
Step 4: Under Partitioning screen, select ‘Auto (UFS)’ and then ‘OK’.
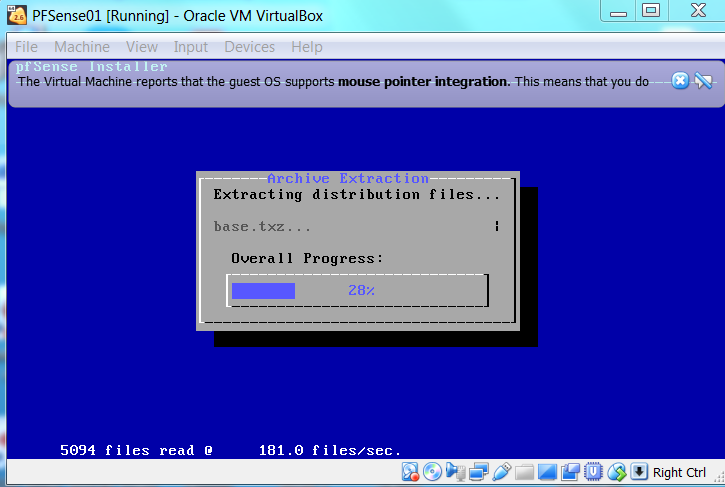
Step 5: The installation process may take several minutes.
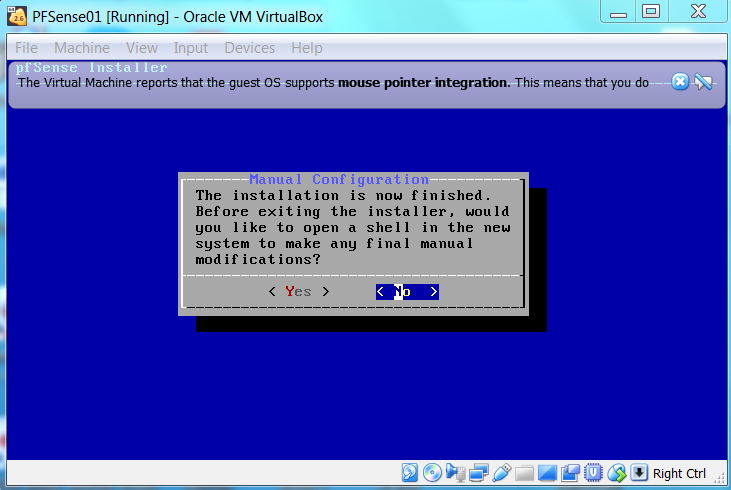
Step 6: Once the installation is complete, select ‘No’ upon showing ‘Manual Configuration’ message’.
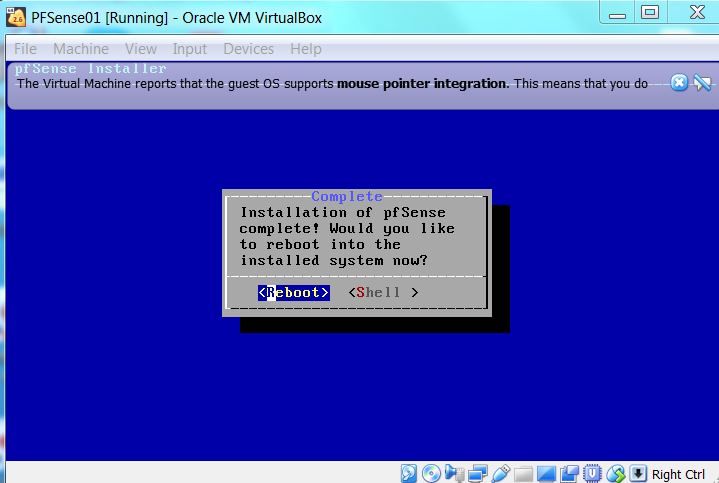
Step 7: Select ‘Reboot’.
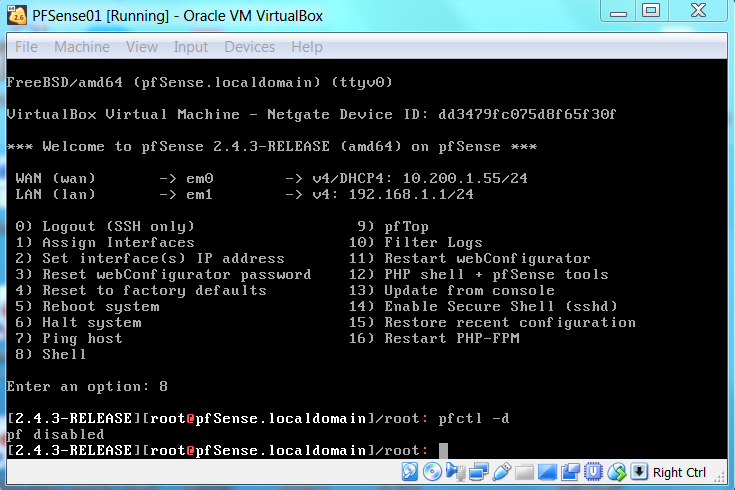
Step 8: After rebooting, you will be directed to the pfSense console menu with 2 NIC (WAN and LAN), each assigned with an IP.
Task 3: Accessing the GUI
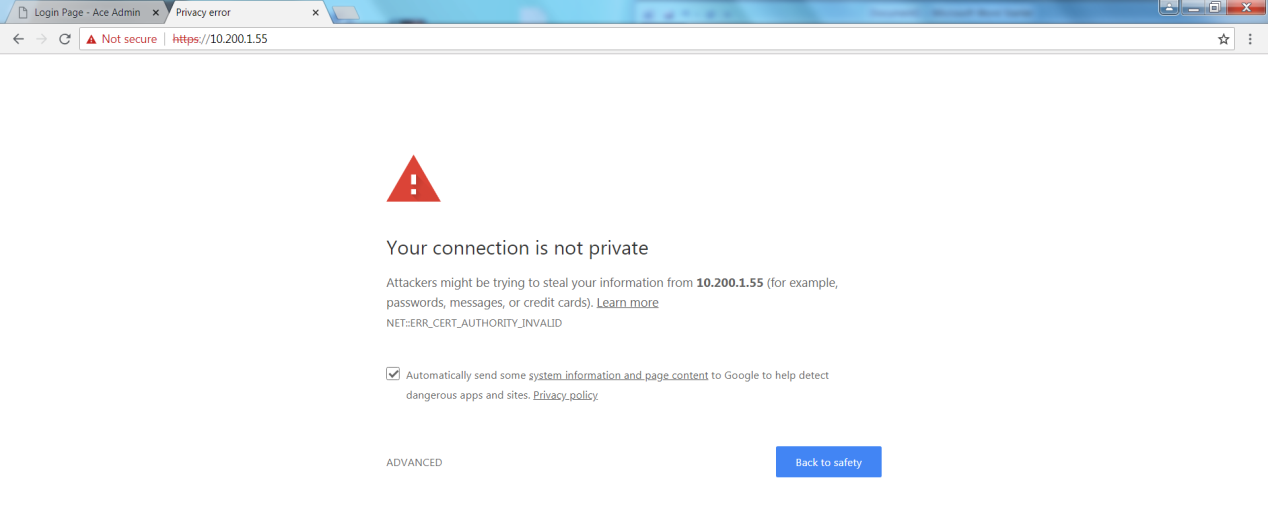
Step 1: Go to a web browser, enter the URL https://PFSense-WAN-IP/. In this case, the URL is https://10.200.1.55/
Step 2: You will be given a warning where the connection is not private since the website is not certified.
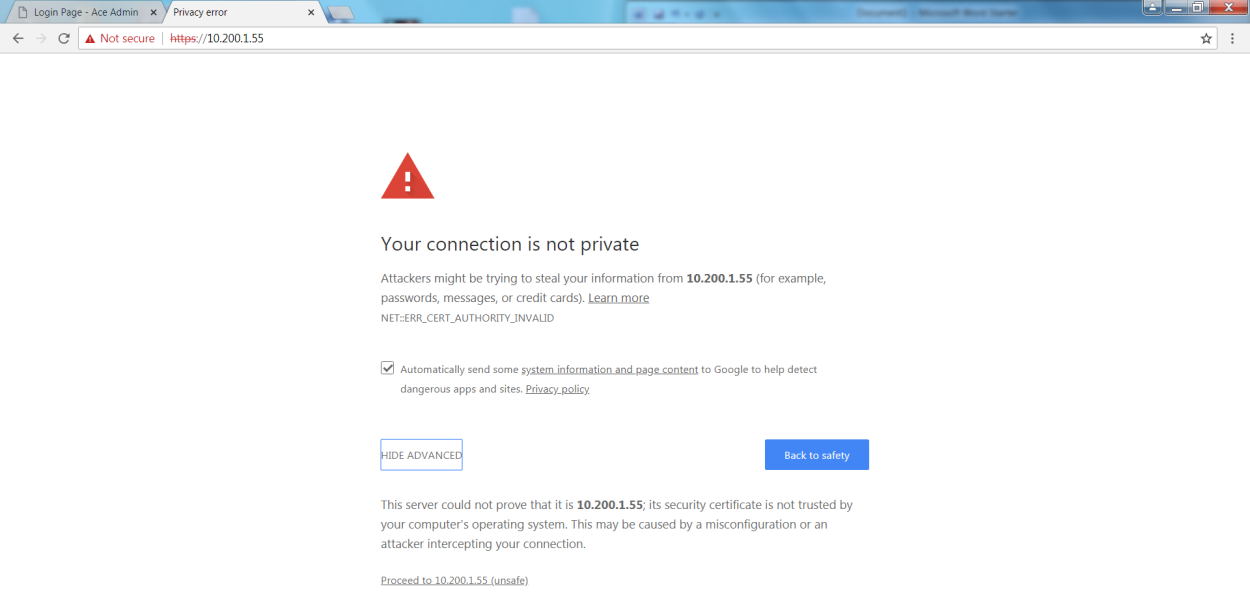
Step 3: Select ‘Advanced’ and then ‘Proceed to 10.200.1.55 (unsafe)’.
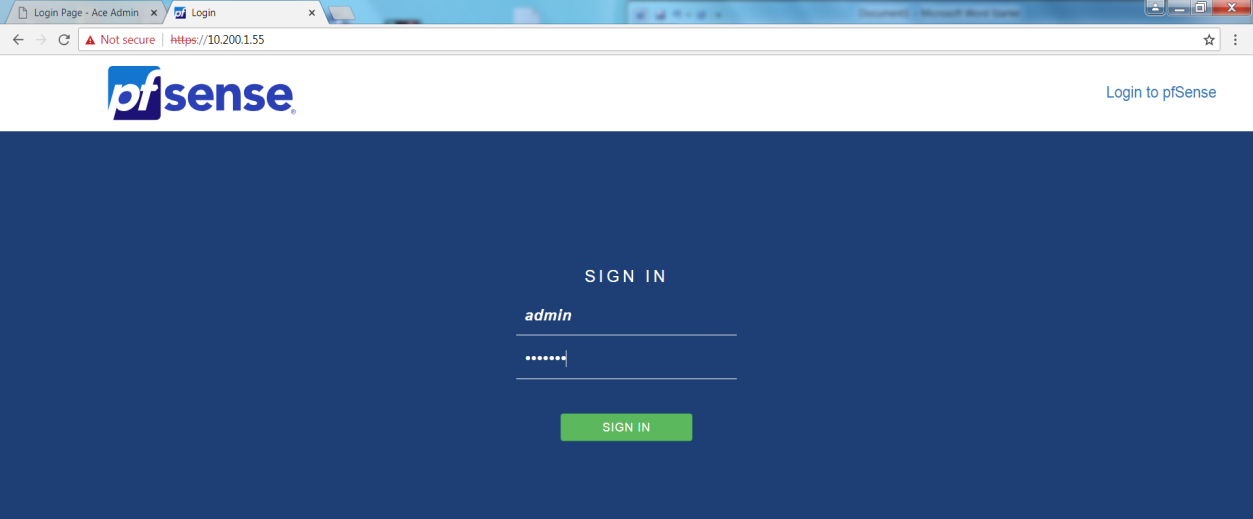
Step 4: You will be directed to a PfSense login screen. The administrator credentials are:-
Username > admin
Password > pfsense
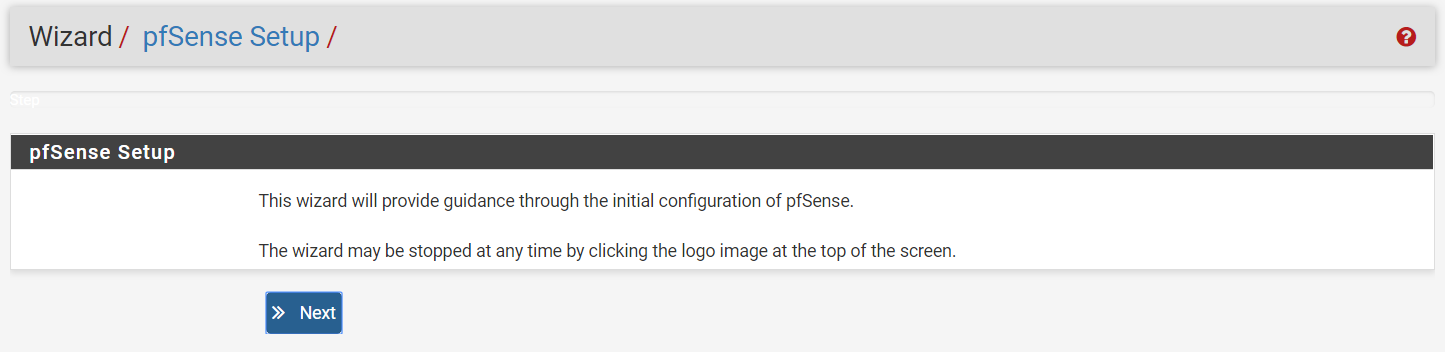
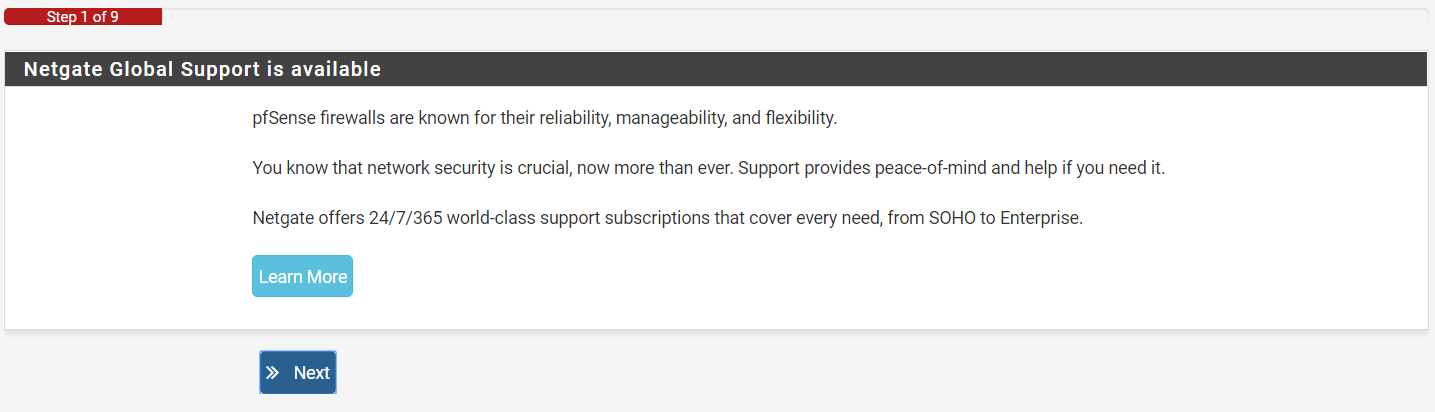
Step 5: Once you are logged in, you will be automatically directed to a pfSense initial setup. On the first screen, select ‘Next’.
Step 6: Select ‘Next’ again.
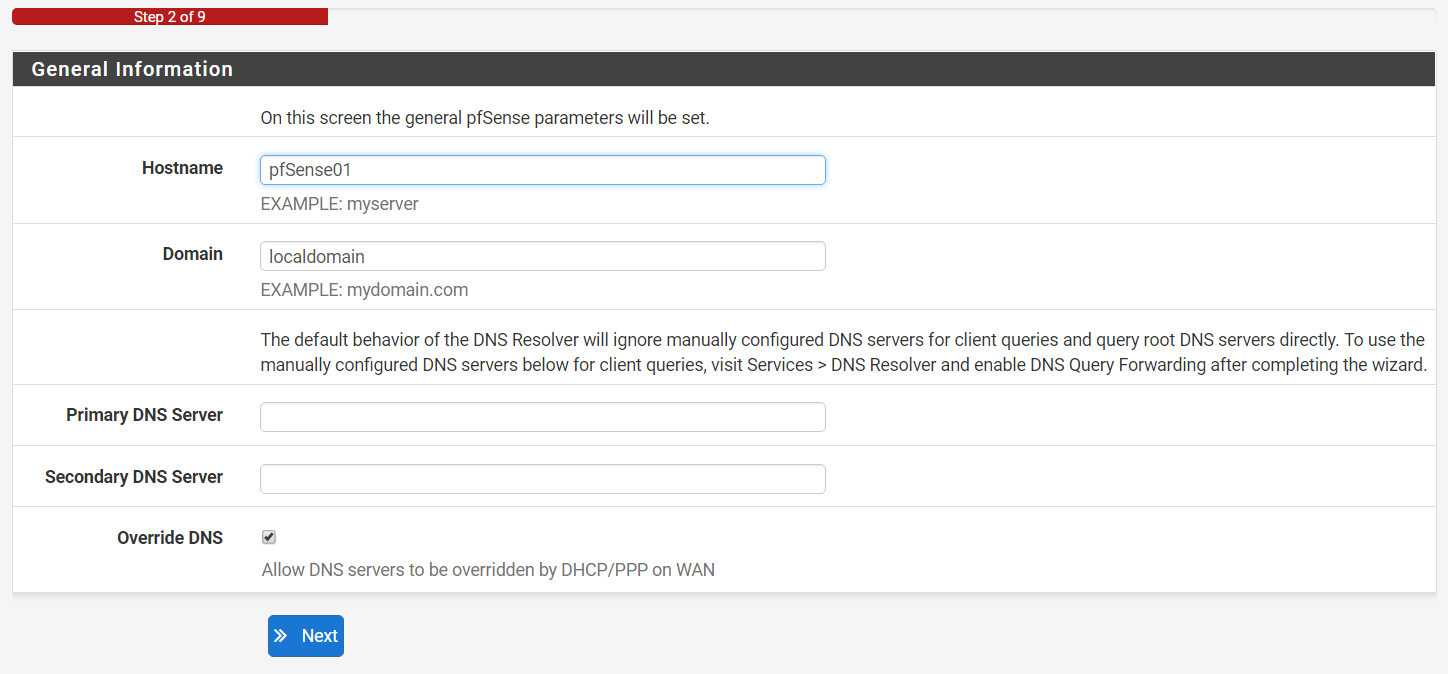
Step 7: (Optional) You can rename the hostname of PfSense and DNS servers before proceeding. In this case, we will rename the hostname and leave the DNS servers empty.
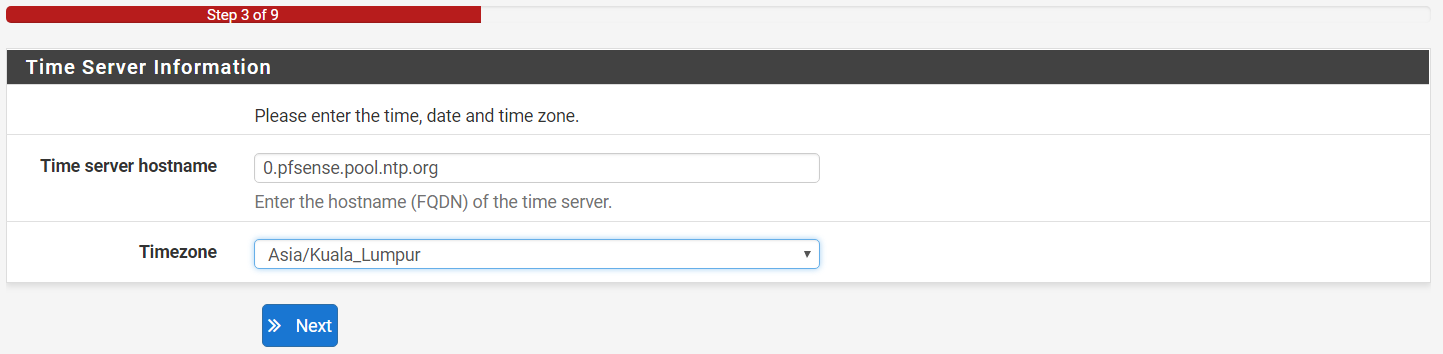
Step 8: Set the time zone to Asia/Kuala_Lumpur before proceeding.
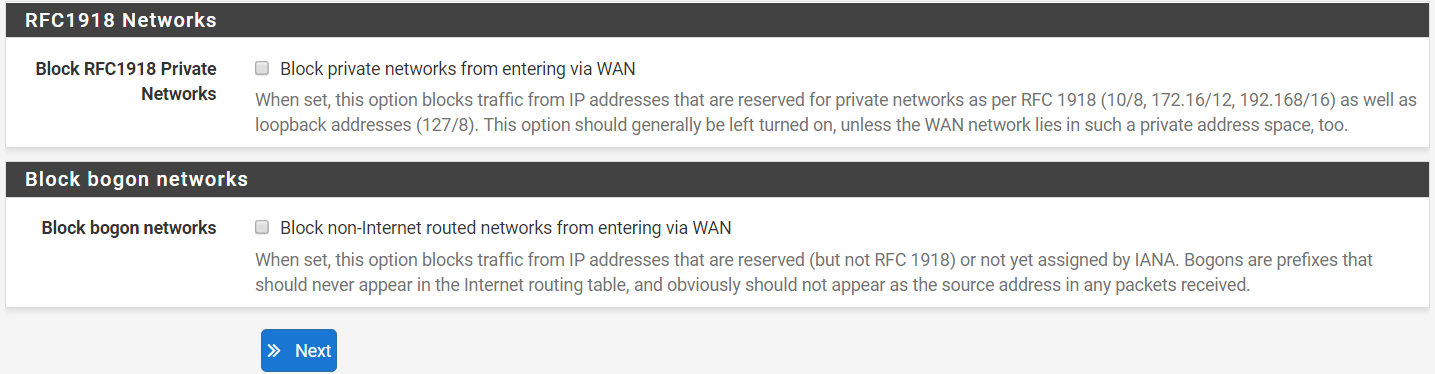
Step 9: Under RFC1918 Networks and Block bogon networks:
Block private networks from entering via WAN > Checked
Block non-internet routed networks from entering via WAN > Unchecked
NOTE: It is recommended to leave ‘Block RFC1918 Private Networks’ checked as it is a good practice to prevent network traffic intended for RFC1918 subnets from leaving the firewall via the WAN interface.
Then, select Next.
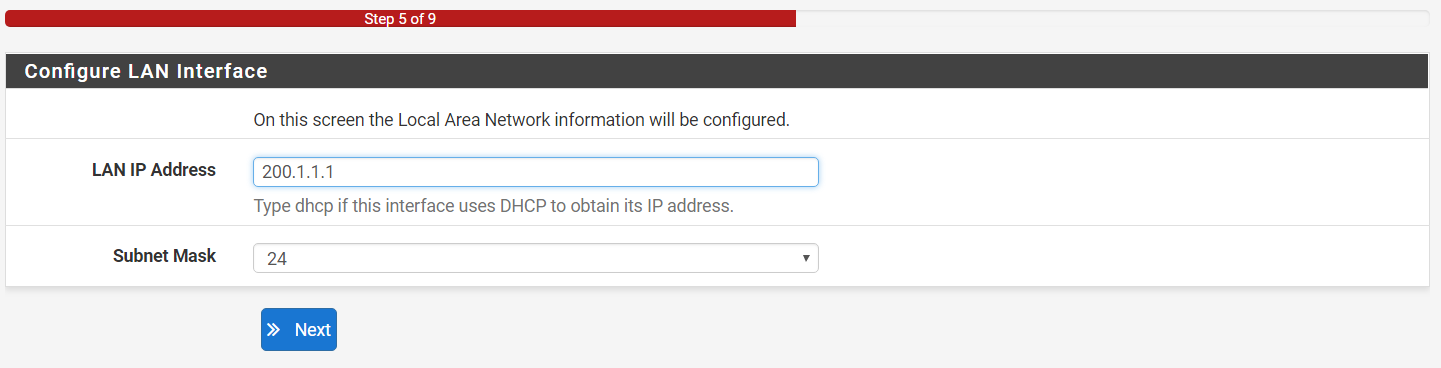
Step 10: Enter a desired static LAN IP and subnet
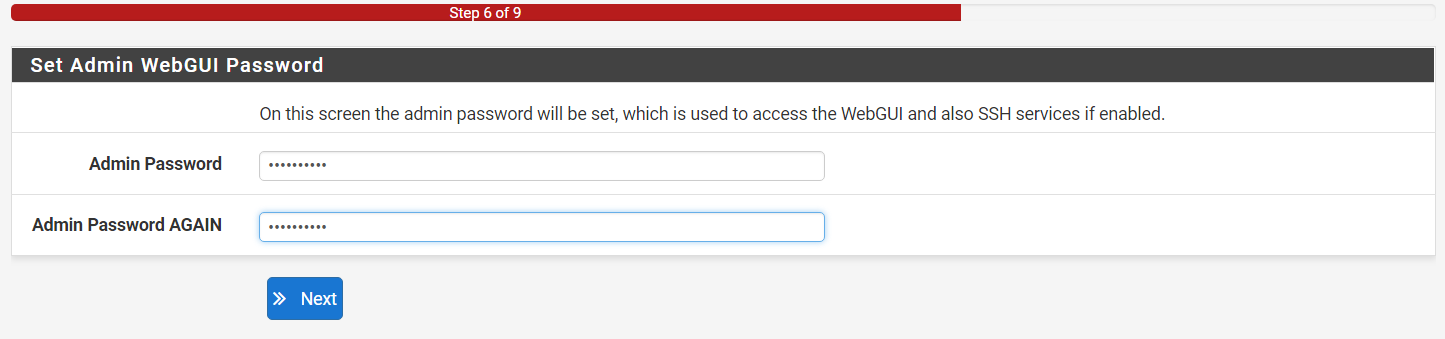
Step 11: Change the admin password
Step 12: Reload the configurations.

Step 13: The process will take several seconds. You will be directed to the completion screen once reloaded.

Step 14: To access the homescreen/dashboard, click on the PFSense logo.
