Objective
Provide a guideline on installing Proxmox Virtual Environment in a Supermicro server.
Prerequisites
Proxmox ISO downloaded.
Steps
Step 1: Set BMC Network Configuration
First, connect the Supermicro server to a switch.
Next, navigate to BIOS configuration and enable IPMI.
After that, update the IPMI LAN configuration
Configuration Address Source: Static
IP Address: <Your IP Address>
Subnet Mask: 255.255.255.0
Gateway: <Your Gateway Address>
VLAN: Disabled
Then, set Restore on AC Power Loss: Power On.
Afterwards, reboot the server.
Step 2: Navigate to Server Console Redirection
Access the server interface using a web browser according to the IP address that you have set. Remember to use https:// before you key in the URL.
Then, login to the web console as default username ADMIN and the password ADMIN or the one that is provided on the server sticker.
After that, navigate to Remote Control and select Console Redirection.
Step 3: Installing Proxmox via Console Redirection
Once you have clicked on Console Redirection, a file called launch.jnlp will be downloaded. Run the file.
If Java security has blocked the file from running, do the following steps:
- Go to Start Menu and search for Configure Java.
- Navigate to Security > Edit Site List.
- Click Add and add your IP address to the list.
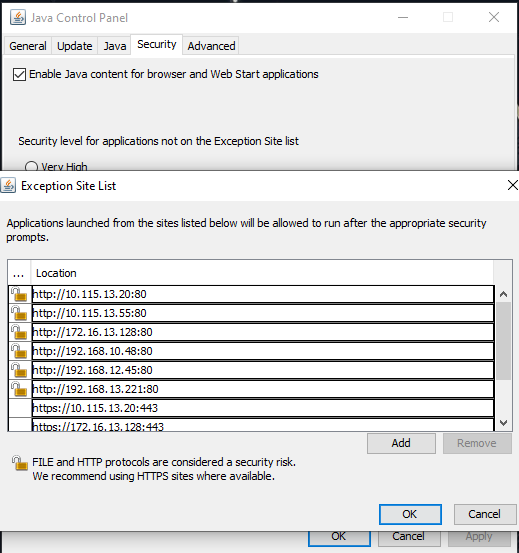
After that, run the .jnlp file again.
On the console, navigate to Virtual Media > Virtual Storage.
Then, select Logical File Type: ISO File and click on Open Image.
Next, search for your Proxmox ISO and click OK.
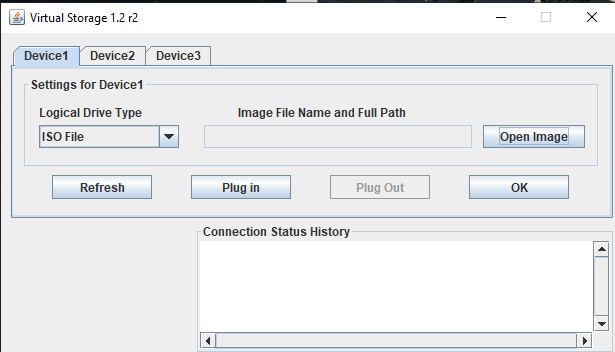
Then, select Open Image and select your Proxmox ISO, then click on Plug in.
Afterwards, install the Proxmox VE OS as usual.