Objective
To provide a guideline on how to configure Gmail settings in Android smartphone.
Prerequisites
Steps
Step 1
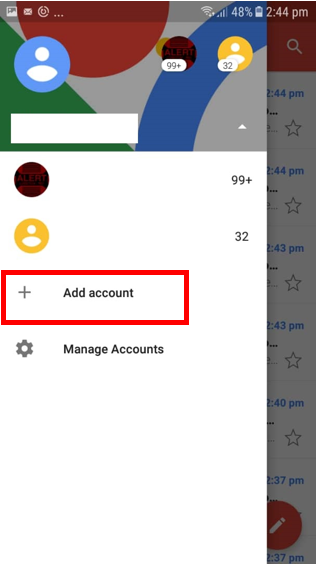
Open your mail application. Then, navigate to your left sidebar and select Add Account.
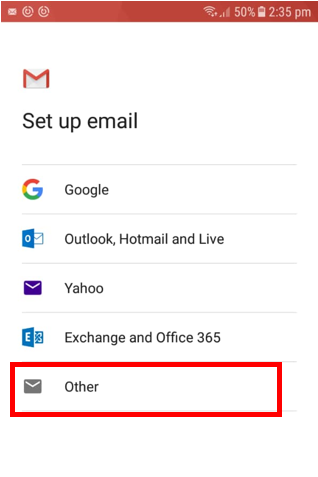
Then, select the Other option.
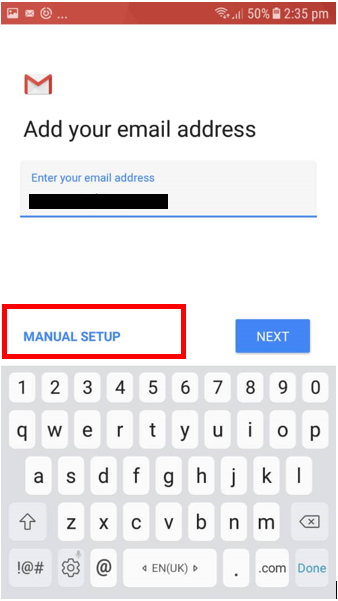
Afterwards, enter the email address you wish to connect to and click the Manual Setup button.
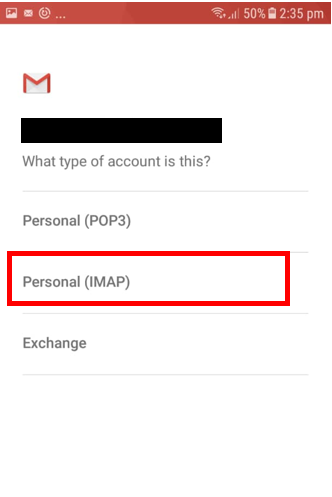
Next, select Personal (IMAP).
Then, in the Incoming and Outgoing server configuration, fill in the following:
Incoming Mail Server:
——————————————————
Server: imap.gmail.com
Port: 993
Security Type: SSL
Outgoing Mail Server:
——————————————————
Server: smtp.gmail.com
Port: 465
Security Type: SSL
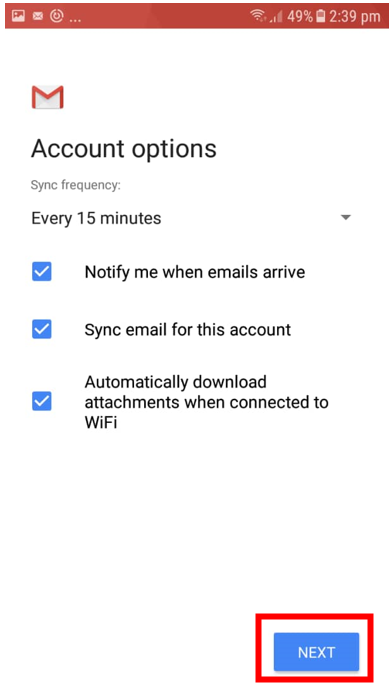
Afterwards, set your account options and click Next.
Then, on the confirmation screen, enter your name as prompted and then select Next. Your email configuration is done at this point.
Step 2: Enable IMAP in Gmail
Sign in to your Gmail account.
Then, click the gear icon in the upper right corner and select Gmail settings at the top of the Gmail page.
Next, click on Forwarding > POP/IMAP.
Select Enable IMAP.
Finally, save your changes to enable IMAP for your Gmail account.
Step 3: Allow Less Secure Apps
Allow less secure apps should be enabled if you are using another another email client to send messages instead of the Gmail application.
Sign in to your Gmail account.
Then, browse to https://myaccount.google.com/lesssecureapps and enable Allow Less Secure Apps.